
Online Mind Map
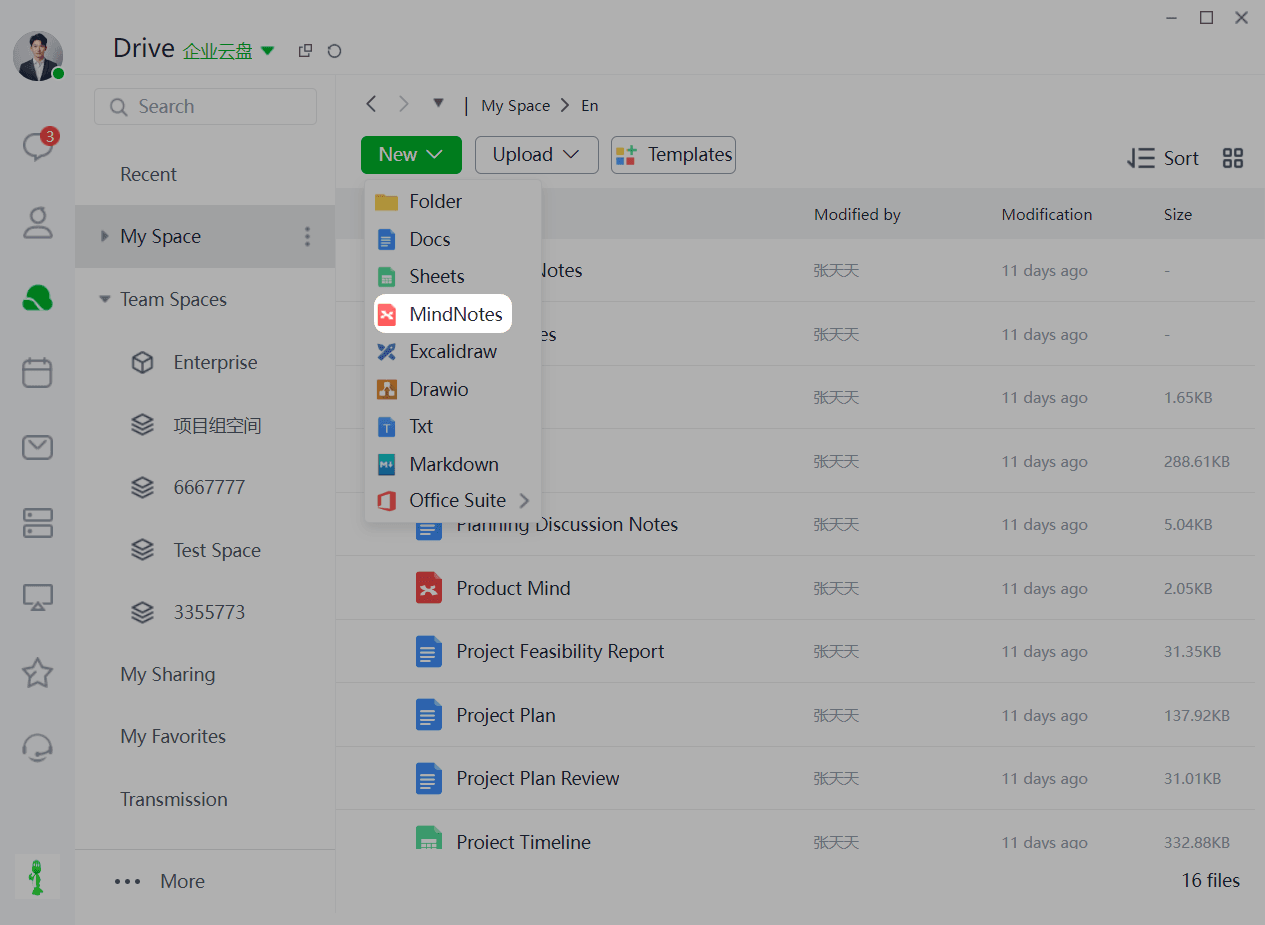
1.Create an Online Mind Map
Enter your cloud drive, go to My Documents > New > Online Mind Map.
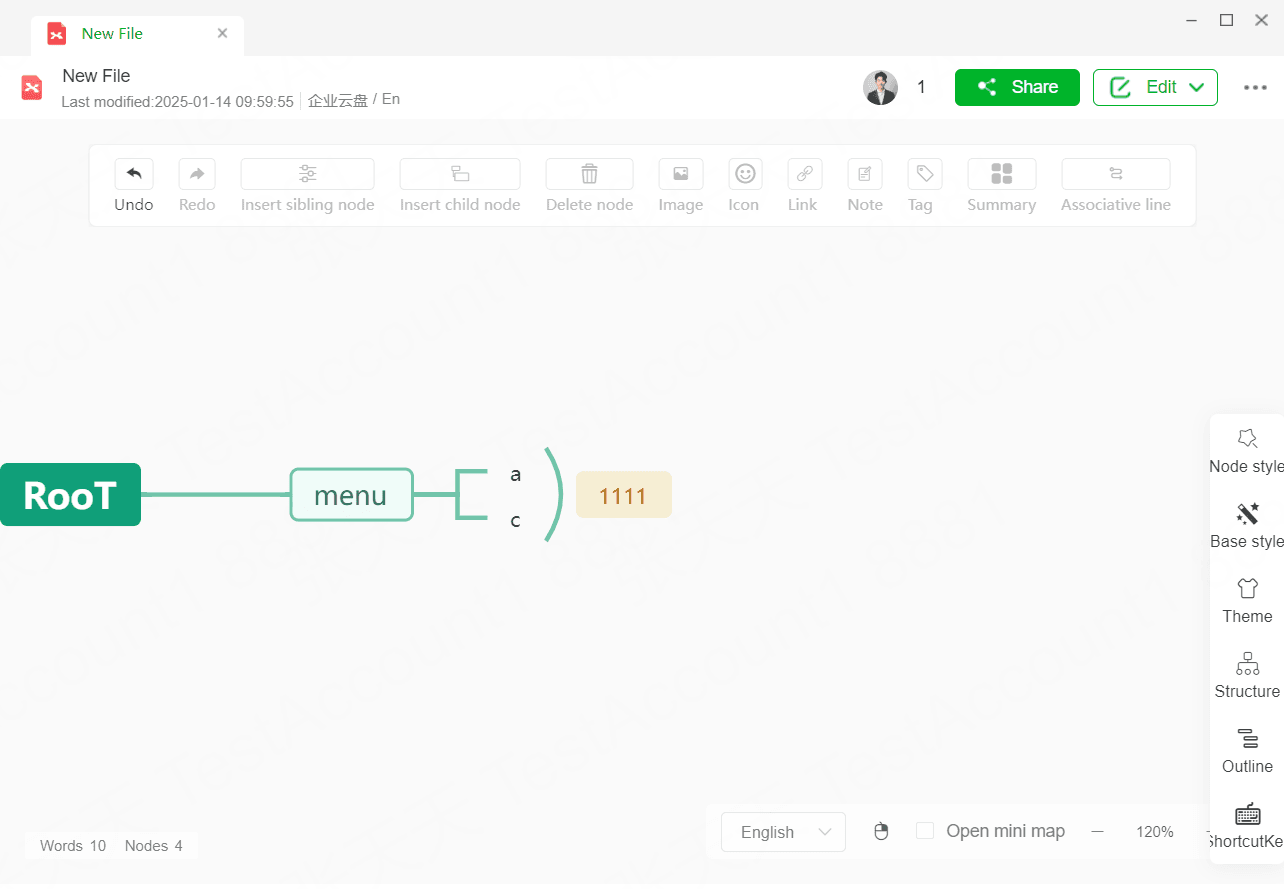
2.Edit the Online Mind Map
In the outline note view of the online mind map, you can edit by creating new nodes, indenting/promoting nodes, dragging nodes, and expanding/collapsing nodes.
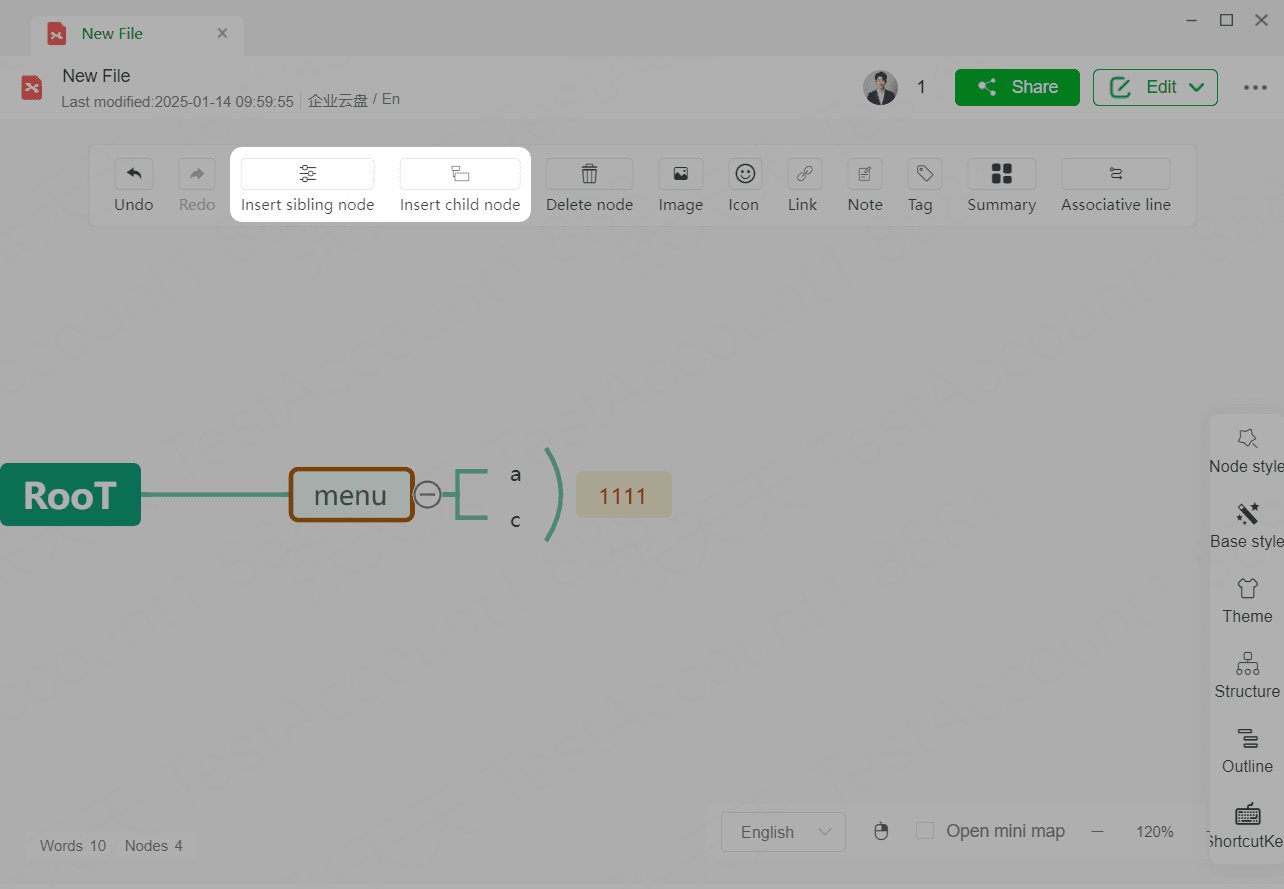
Creating New Nodes
When creating an online mind map, a root node is created by default. Select the root node and click Insert Child Node/Insert Sibling Node in the toolbar above to insert corresponding new nodes at that position.
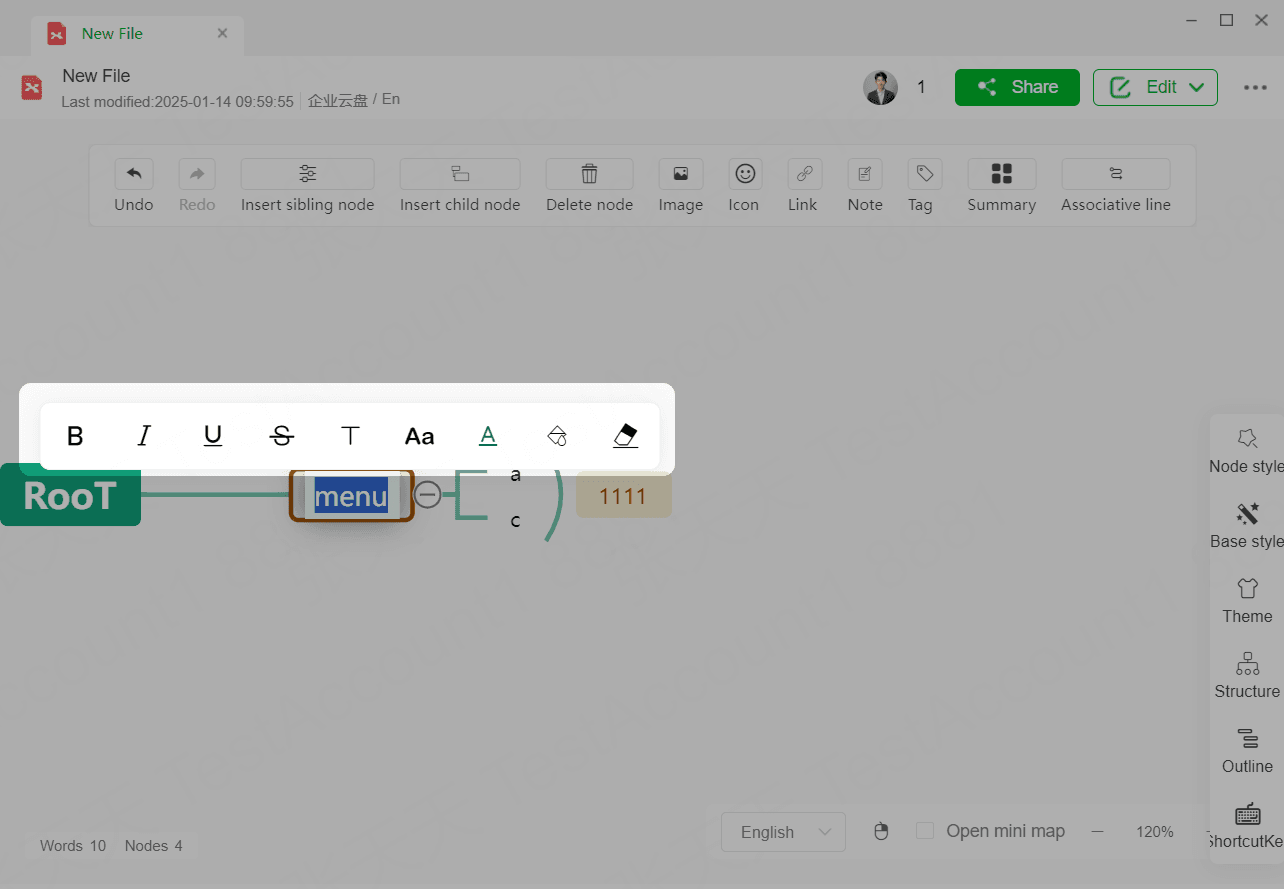
Using the Node Toolbar
The node toolbar in the online mind map includes functions such as bold, italic, underline, strikethrough, font adjustment, font size, font color, background color, eraser, etc.
3.Adding, Editing, Zooming in Images
The online mind map supports inserting images into text, adjusting image size, zooming in to view images, and deleting images.
Inserting Images
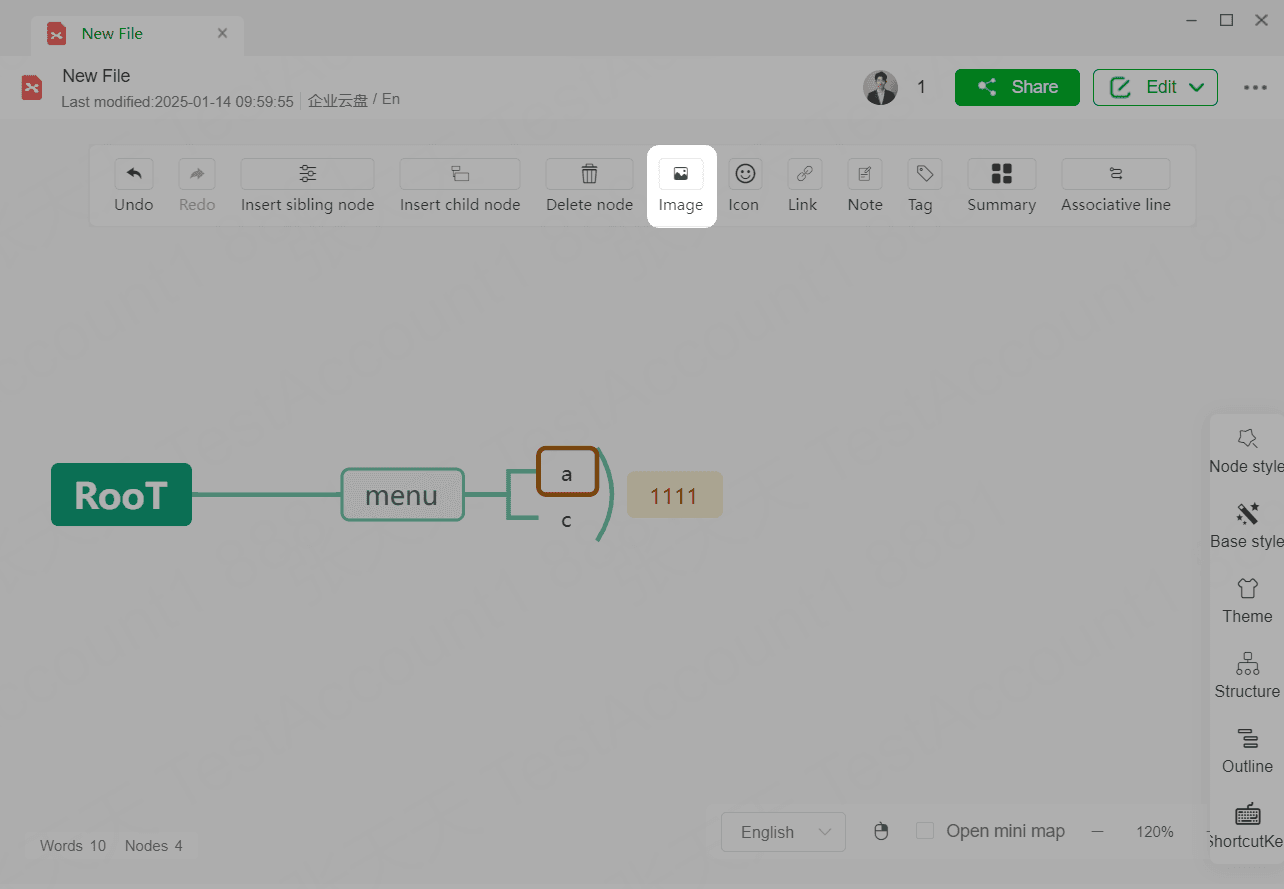
Click the node where you want to add an image, click the Insert Image button, and select the image you want to upload from your local files to successfully insert it.
Editing Images
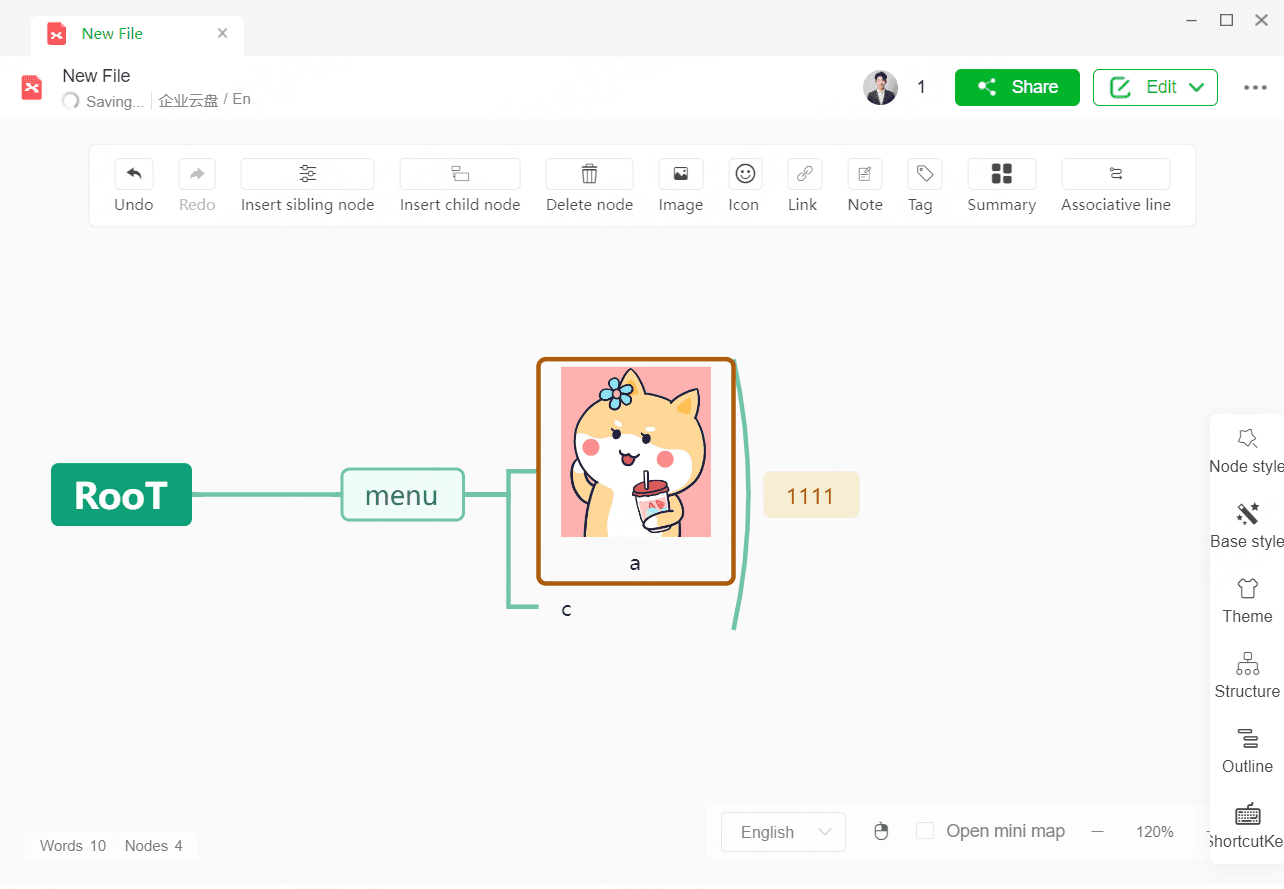
Click the image you want to resize, hold down the enlarge button in the lower right corner of the image and drag to zoom in or out.
4.Switching Views and Editing
You can switch between outline notes and mind map views in the online mind map, and edit the mind map using shortcuts, the node toolbar, etc.
Operation Process
**1.**Switch Views
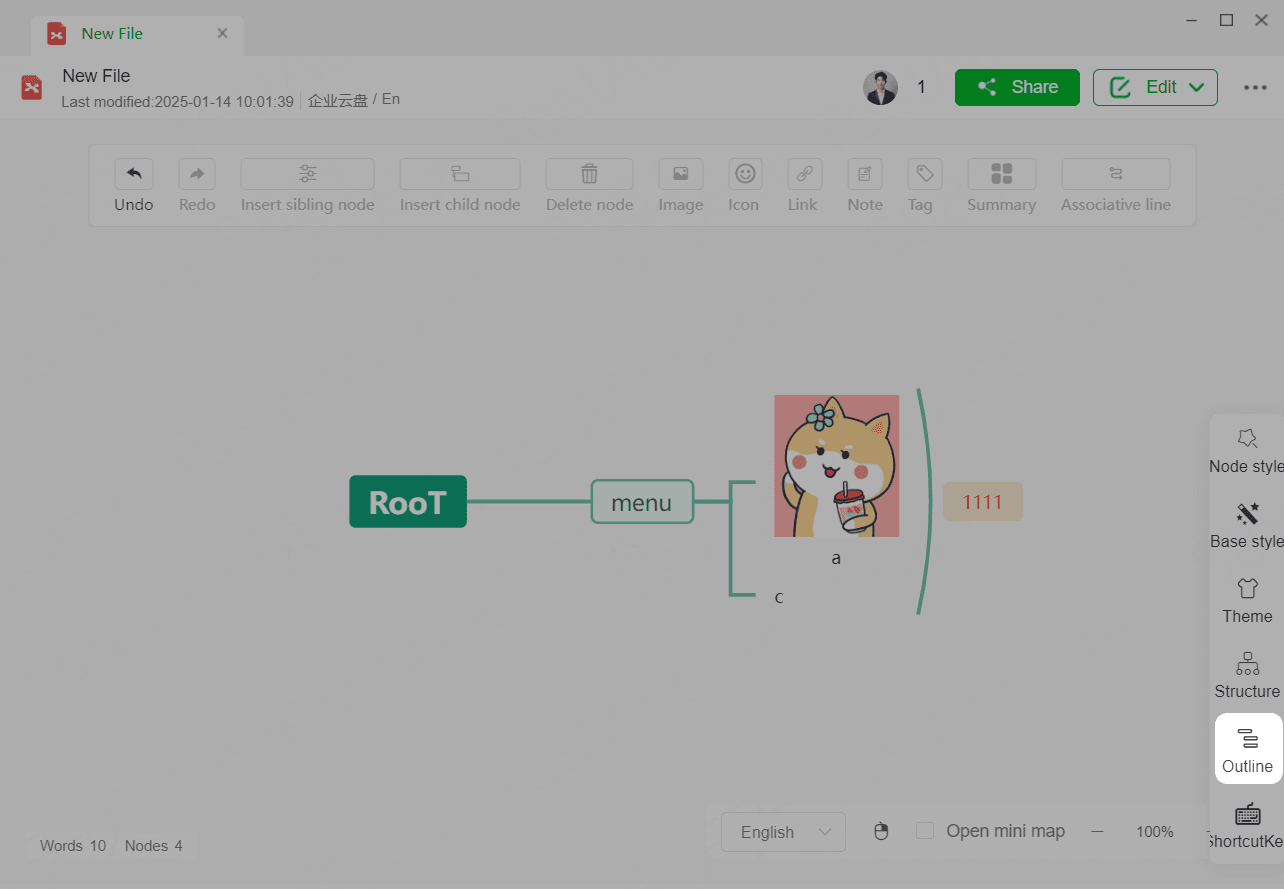
Click the Outline button in the floating toolbar to view the current mind map's outline notes.
**2.**Edit the Mind Map
Edit on the mind map to organize your thoughts and stimulate creativity visually.
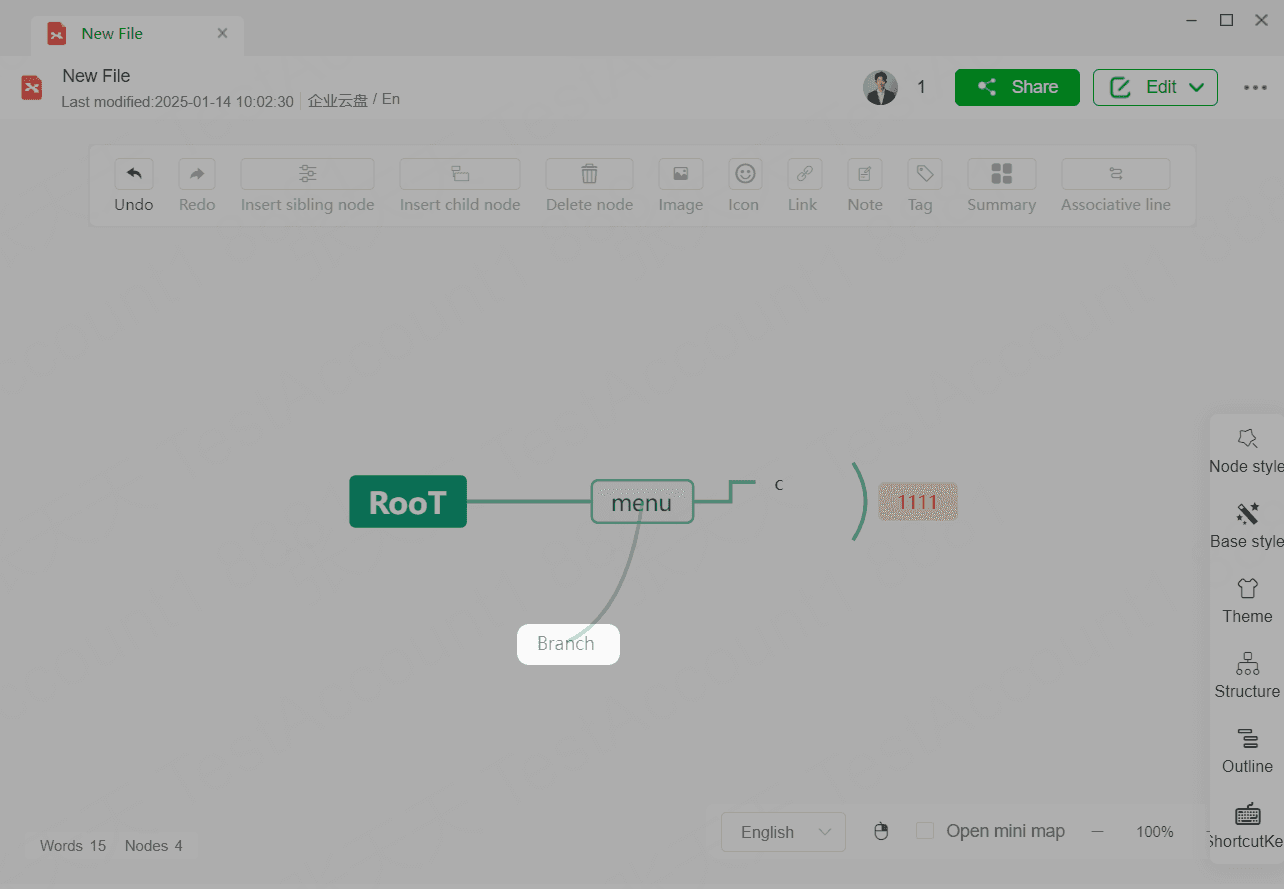
Edit: In mind map mode, double-click a node to edit.
Insert Node: Click the + button or use the Tab key to quickly add a child node.
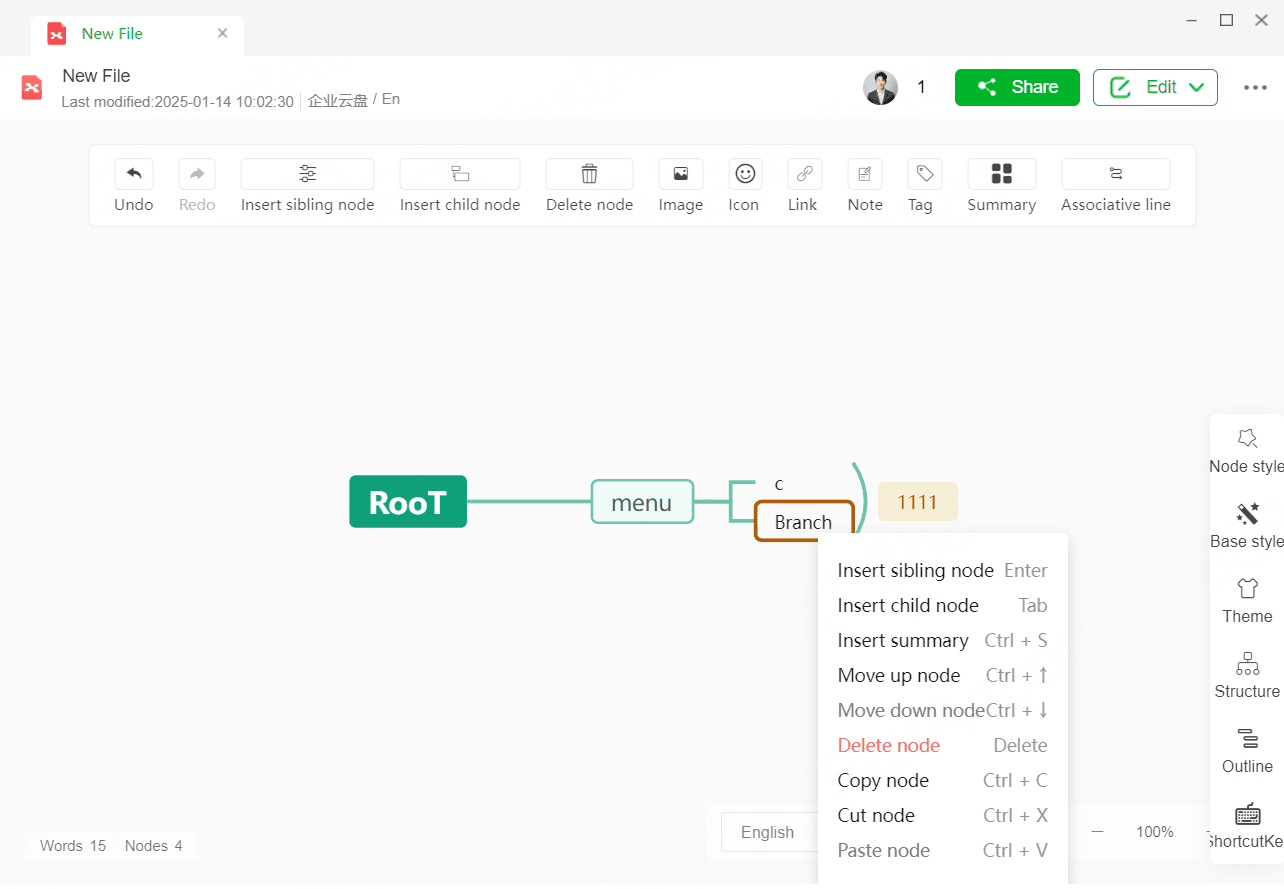
- Node Hierarchy: Drag and move nodes to adjust their hierarchy.
5.Structure and Style
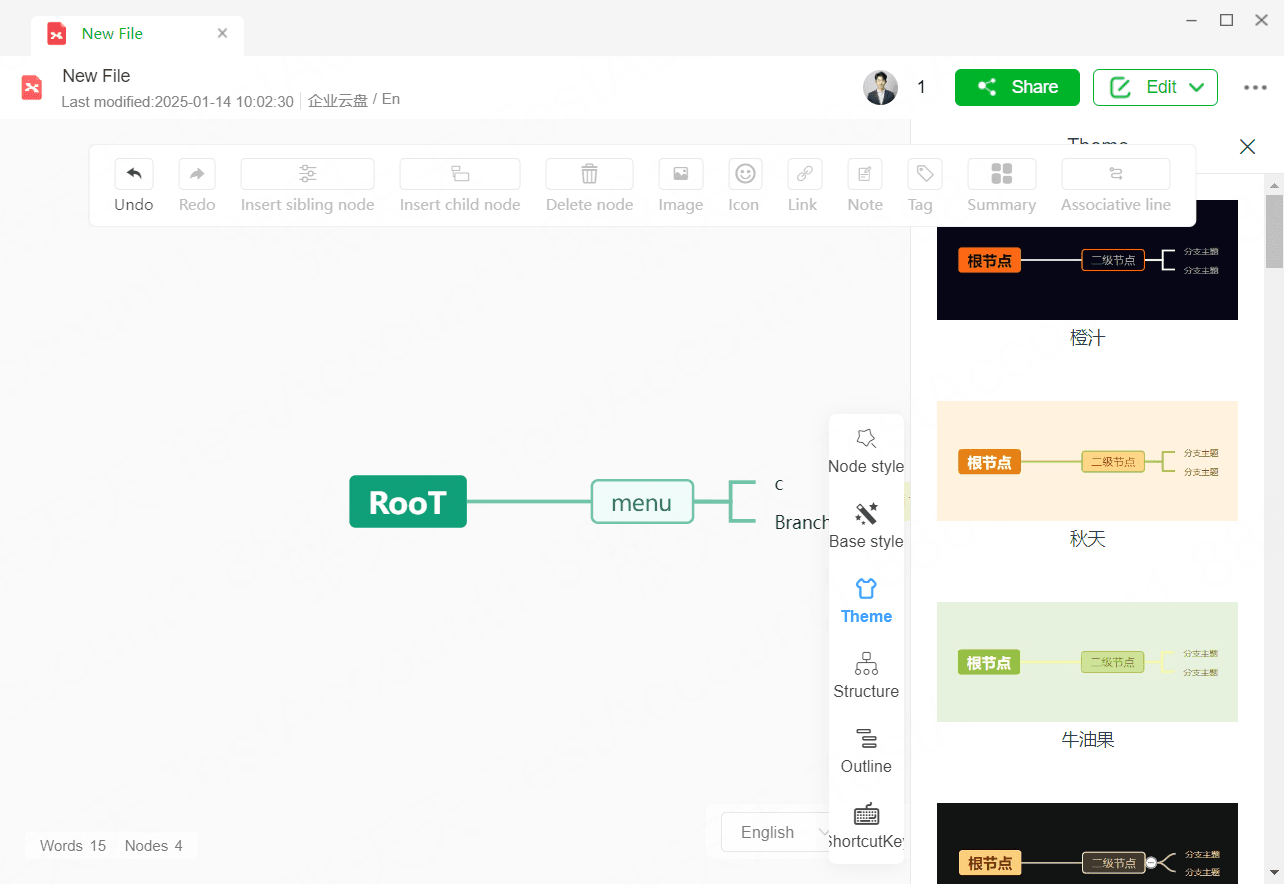
The mind map offers various framework structures and theme styles for one-click quick changes.
- Click the floating toolbar on the page to select the theme and structure you want to change to.
6.Shortcuts
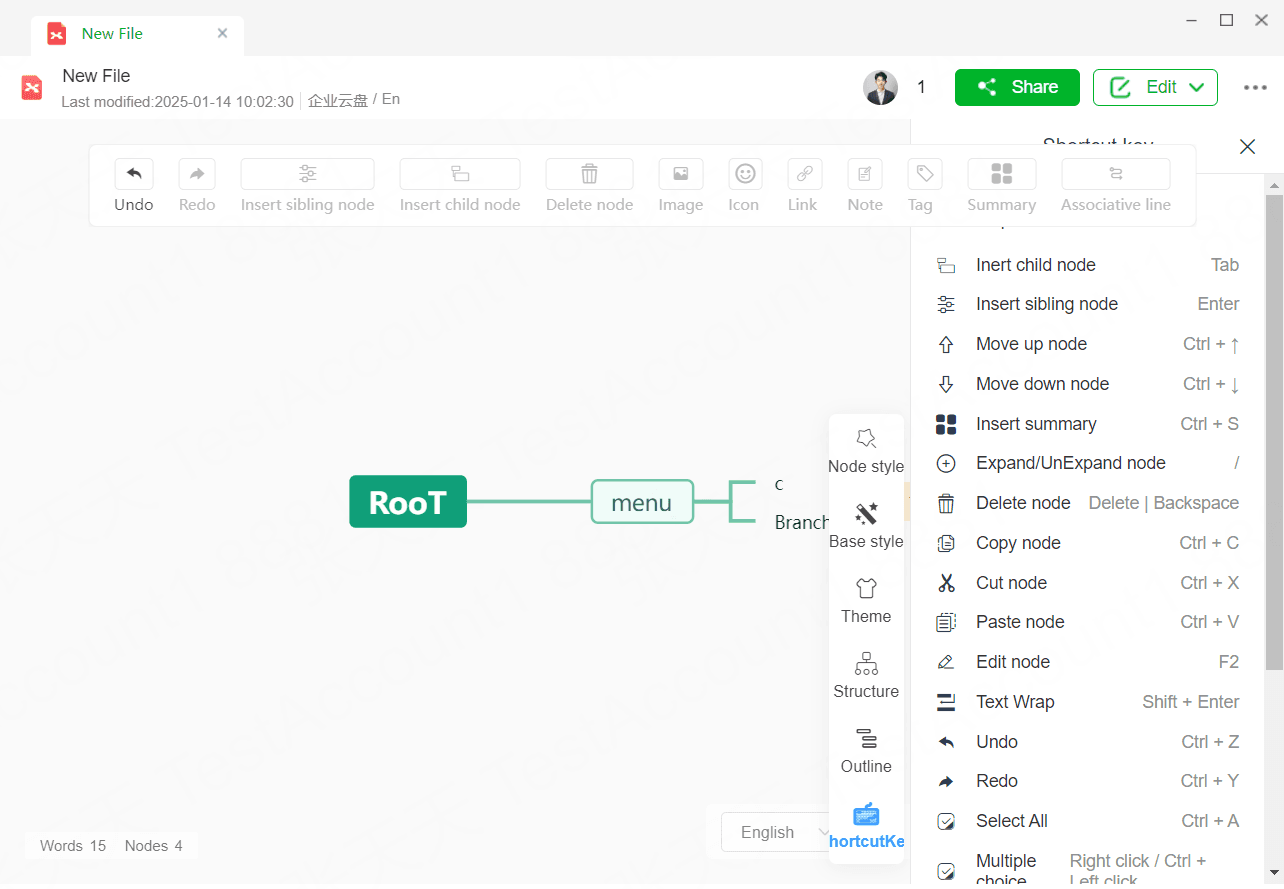
The mind map provides shortcut keys to help users quickly create mind maps.
7.More
7.1Document Info
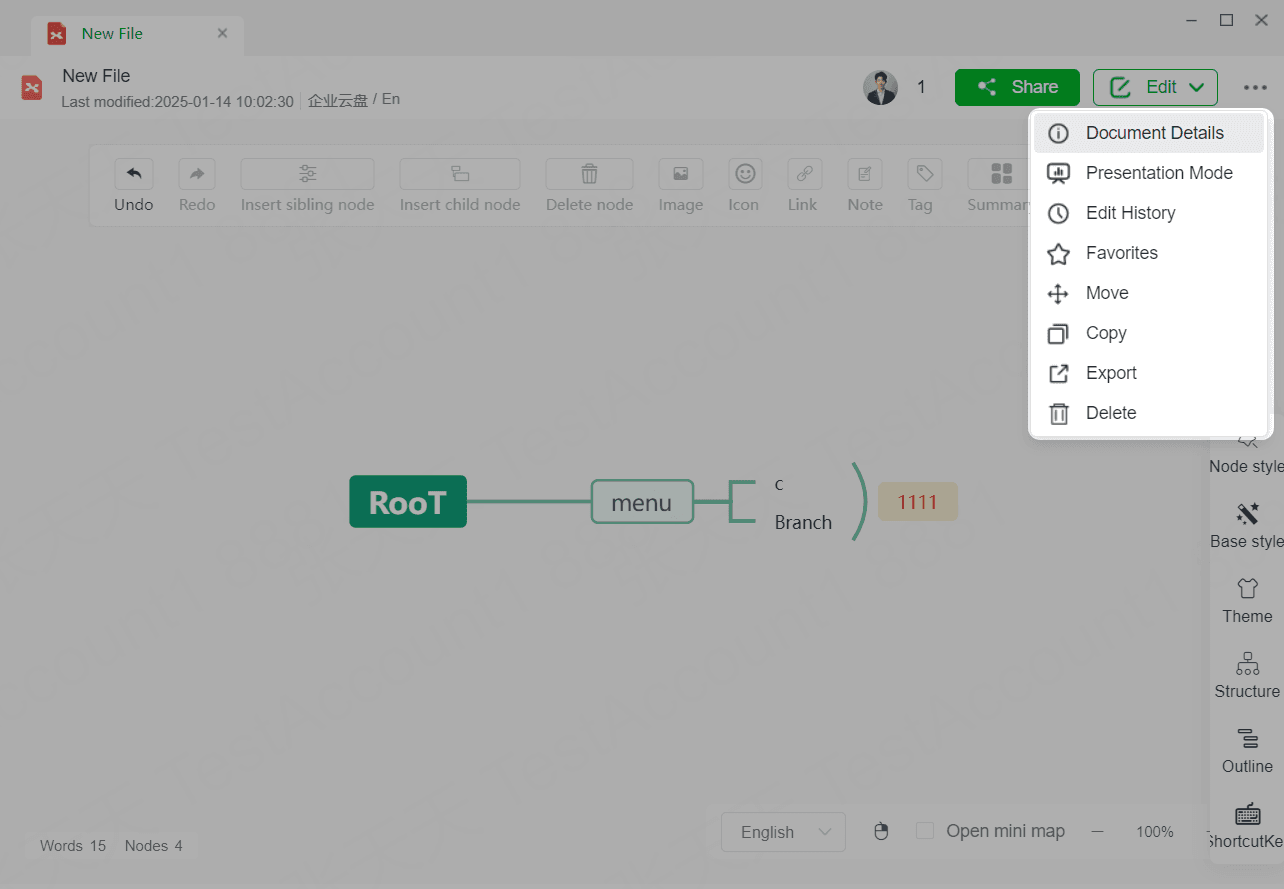
Click ... > Document Info at the top right of the document to view the file's name, creator, creation time, last modification time, size, etc.
7.2Presentation Mode
Click ... > Presentation Mode at the top right of the document to enter presentation mode, where editing is not possible. You cannot exit using the Esc key; you must move the mouse to the top to reveal the button to close presentation mode and click it to exit.
7.3History
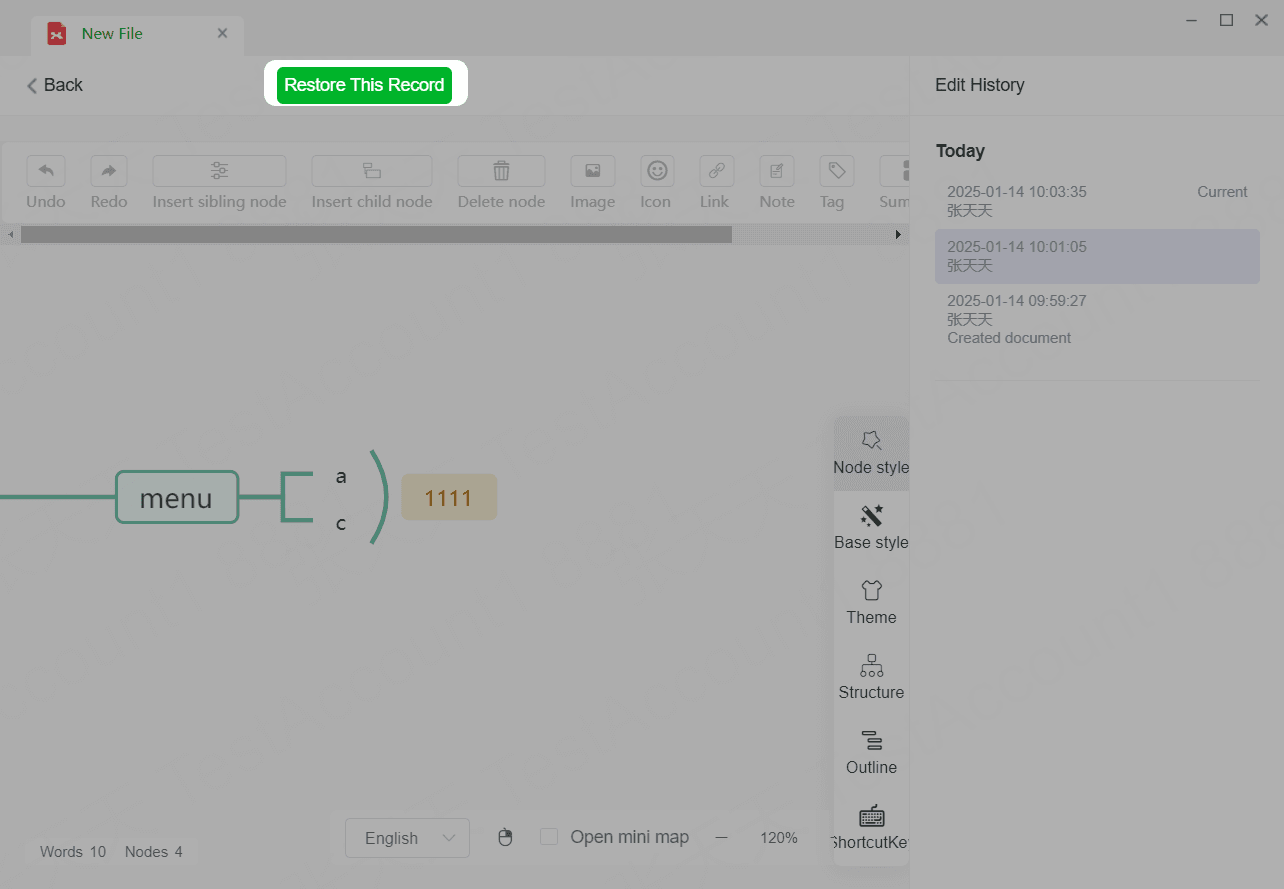
Click ... > History at the top right of the document to enter the history page, where you can view historical versions. Click on a previous version, and you can also click to restore that version at the top.
7.4Favorite
Click ... > Favorite at the top right of the document to favorite the current file. Favorited files can be viewed in My Favorites in the cloud drive. If the document is already favorited, the button will change to Unfavorite, and clicking it will remove the document from My Favorites.
7.5Move
Click ... > Move at the top right of the document to change the current file's path from its original location to another.
7.6Copy
Click ... > Copy at the top right of the document to create a new copy of the current file in another location.
7.7Export
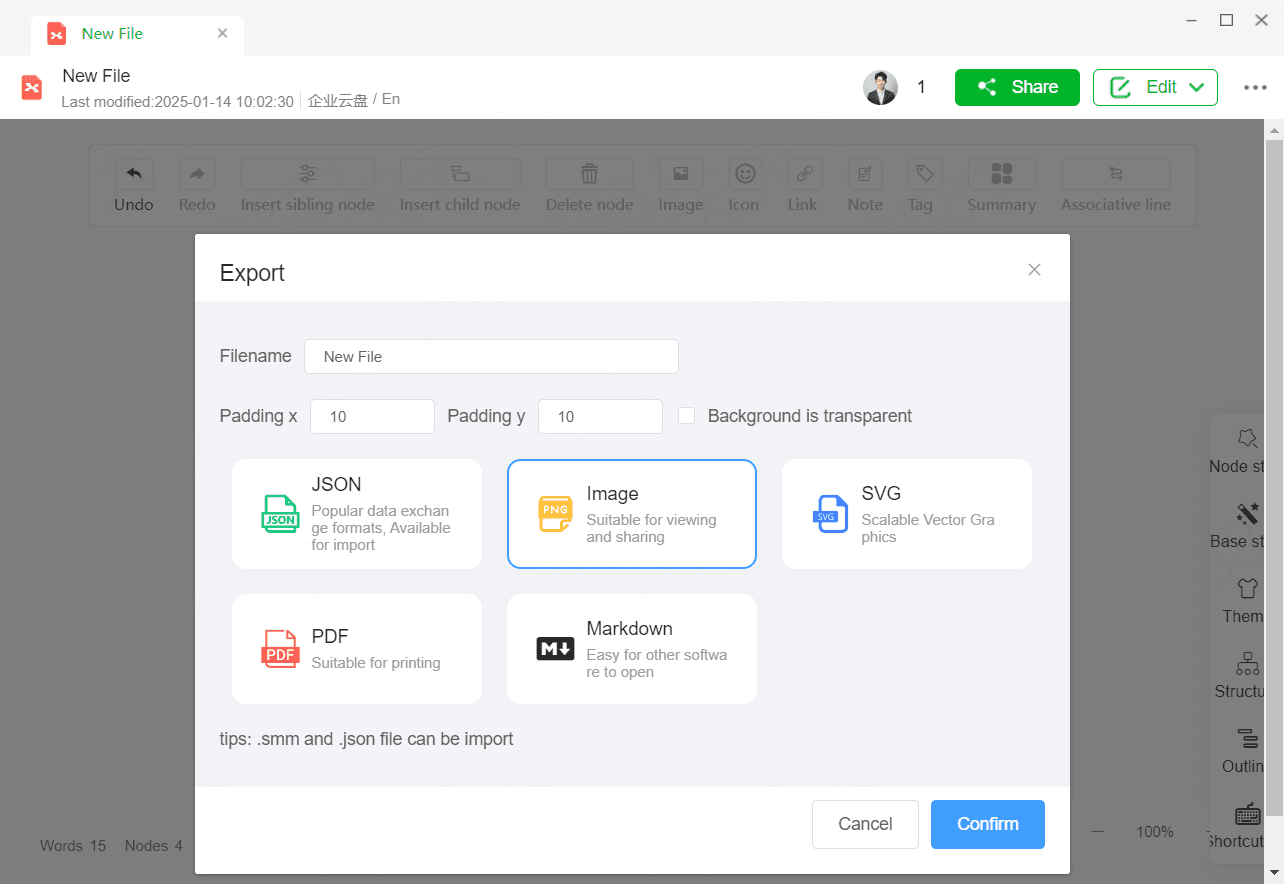
Click ... > Export at the top right of the document to export the document as JSON, image, SVG, PDF, or XMind.
8.8Delete
Click ... > Delete at the top right of the document to delete the current file.