Contact
What is a Contact
A contact list primarily serves as an enterprise-level directory where you can add friends, create and view group chats, and check information of enterprise members.
Click the "Contact List" icon on the left to enter the contact list page.
New Friends
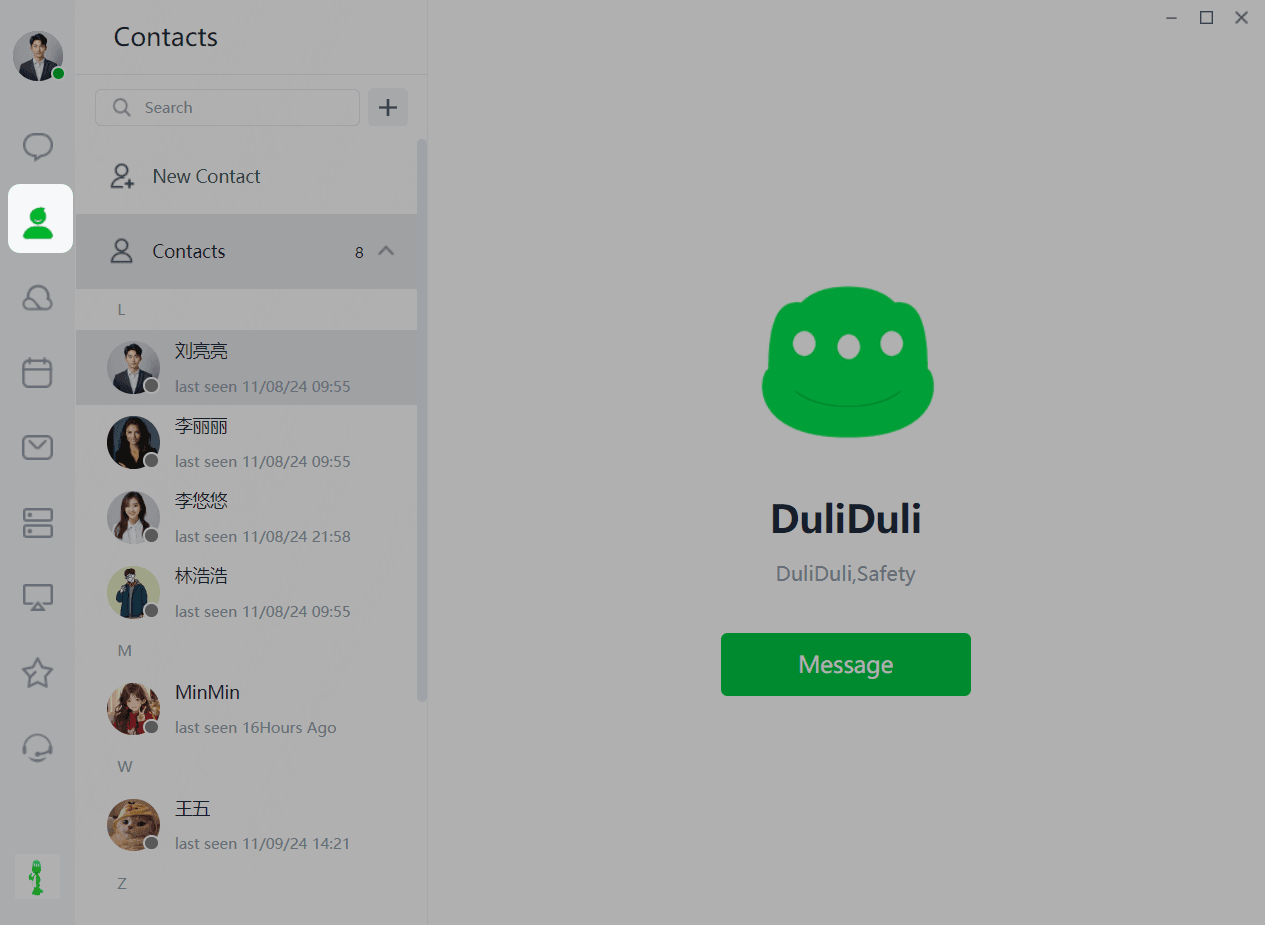
Here, you can search for friends and accept friend requests from others.
Search for Friends
Enter the user's phone number or account, click the search button, and the corresponding user information will be displayed. If you haven't added the user as a friend, you can click to add them and send a friend request. If you have already added them, you can start chatting directly.
Friends Request
If "Require verification when adding me as a friend" is enabled in Settings > Privacy > Add Friends, friend requests from others will be displayed here. Click to accept and successfully add them as a friend.
My Friends
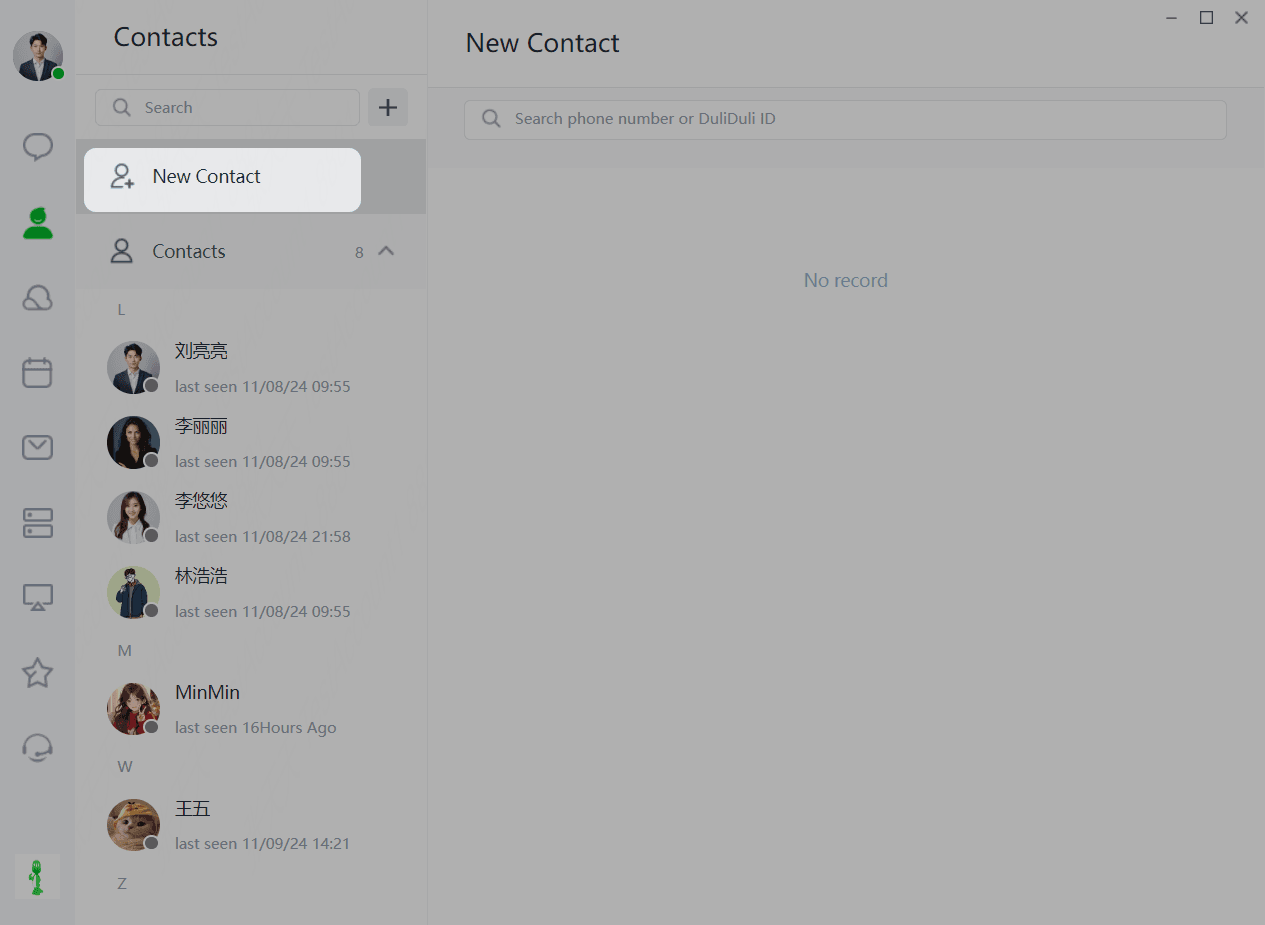
This section displays friends you have successfully added. You can view their information and perform related actions.
Friend Information
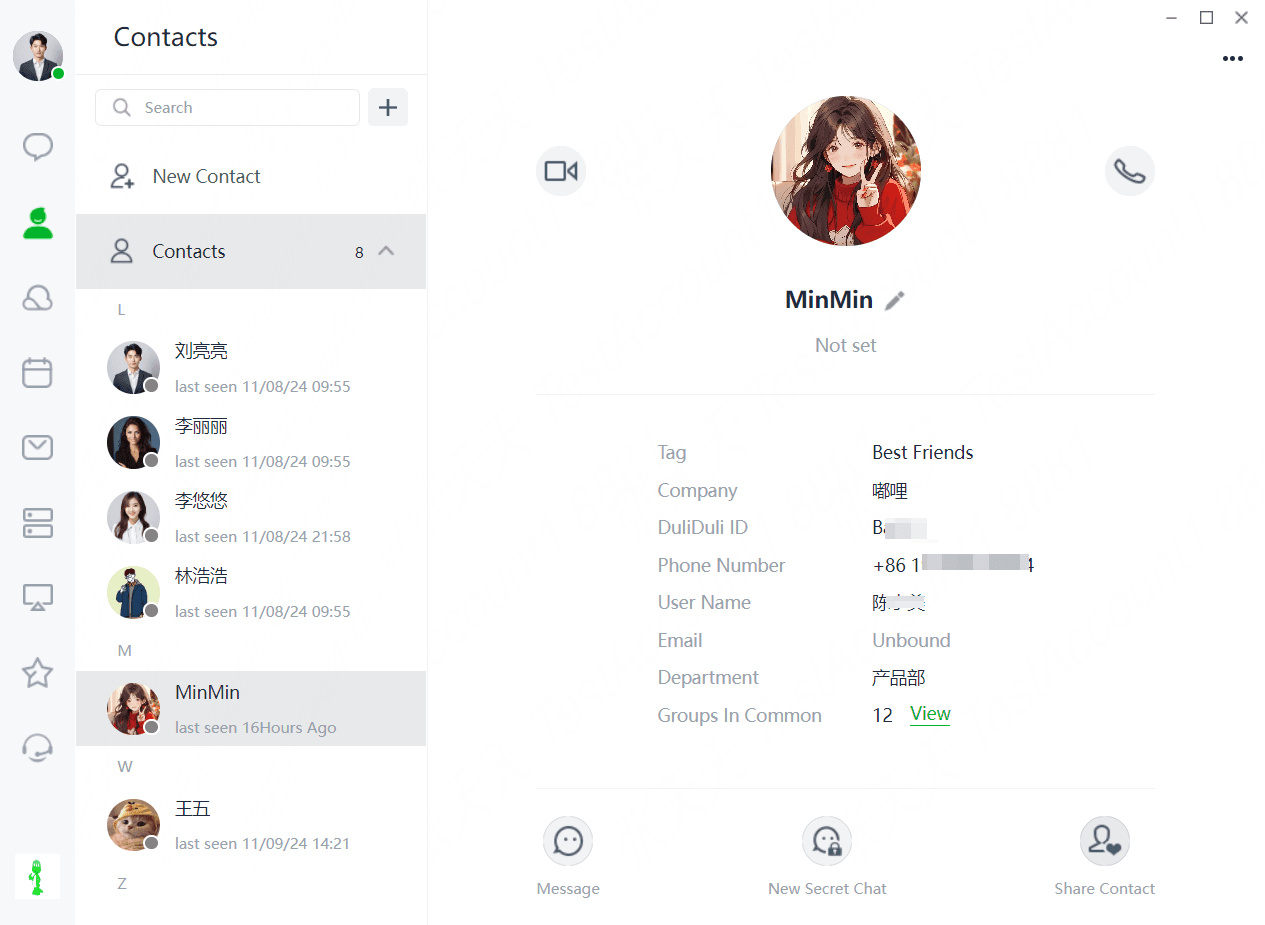
When a friend is selected, their information page is displayed, showing their avatar, nickname, personal signature, account, phone number, username, email, department, and shared groups with this friend.
Initiate Conversation
On the friend's information page, click the corresponding button to start a chat, private chat, audio/video call with them.
Recommend
Click the "Recommend to a Friend" button to display contacts and recent chats. Select the corresponding chat, click "OK", and send this friend's personal business card to the selected contact in the chat.
More Functions
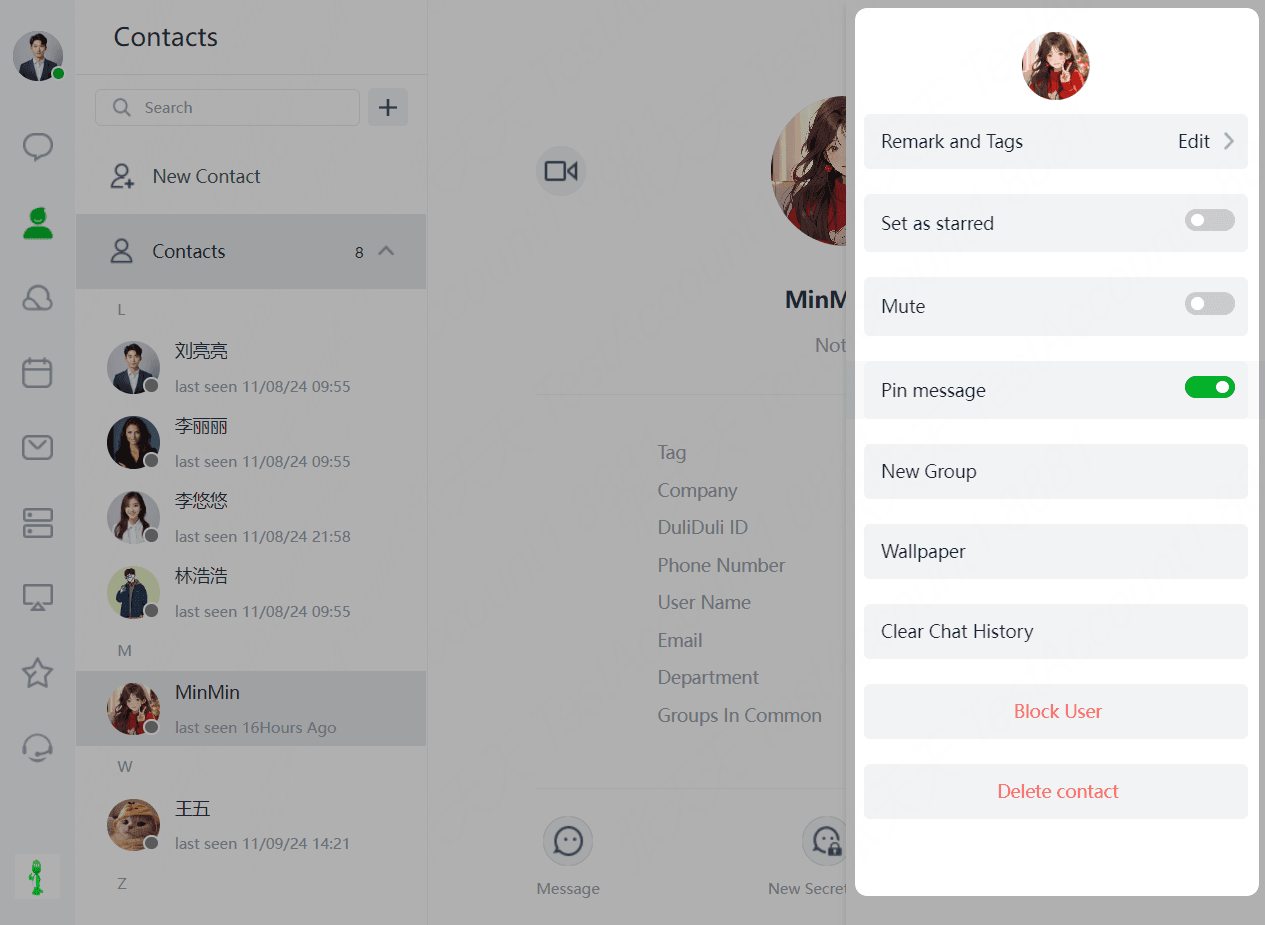
Click the "More" button in the upper right corner to display chat-related function settings for this friend, including:
(1) Set Remarks and Tags: Tags allow you to quickly create group chats by selecting contacts under a tag when creating a group.
(2) Set as Starred Friend: Starred friends can be viewed in the "Starred Friends" section of the contact list.
(3) Message Mute: After enabling, you will no longer receive push notifications or red dot prompts for messages from this friend.
(4) Pin Chat: After enabling, the friend's chat will be placed at the top. If there are multiple pinned chats, they will be sorted by the order of the last received message.
(5) Initiate Group Chat: Click to invite this friend and other contacts to create a group chat.
(6) Set Chat Background: You can set a unique chat background for this friend.
(7) Clear Chat History: Click to clear local chat history with this friend, which cannot be recovered.
(8) Block User: After blocking, you will stop receiving all messages from this friend.
(9) Delete Contact: Click to delete this friend, and the chat history with them will also be cleared.
My Groups
This section displays the groups you have joined. You can view group information and perform related actions.
Group Information
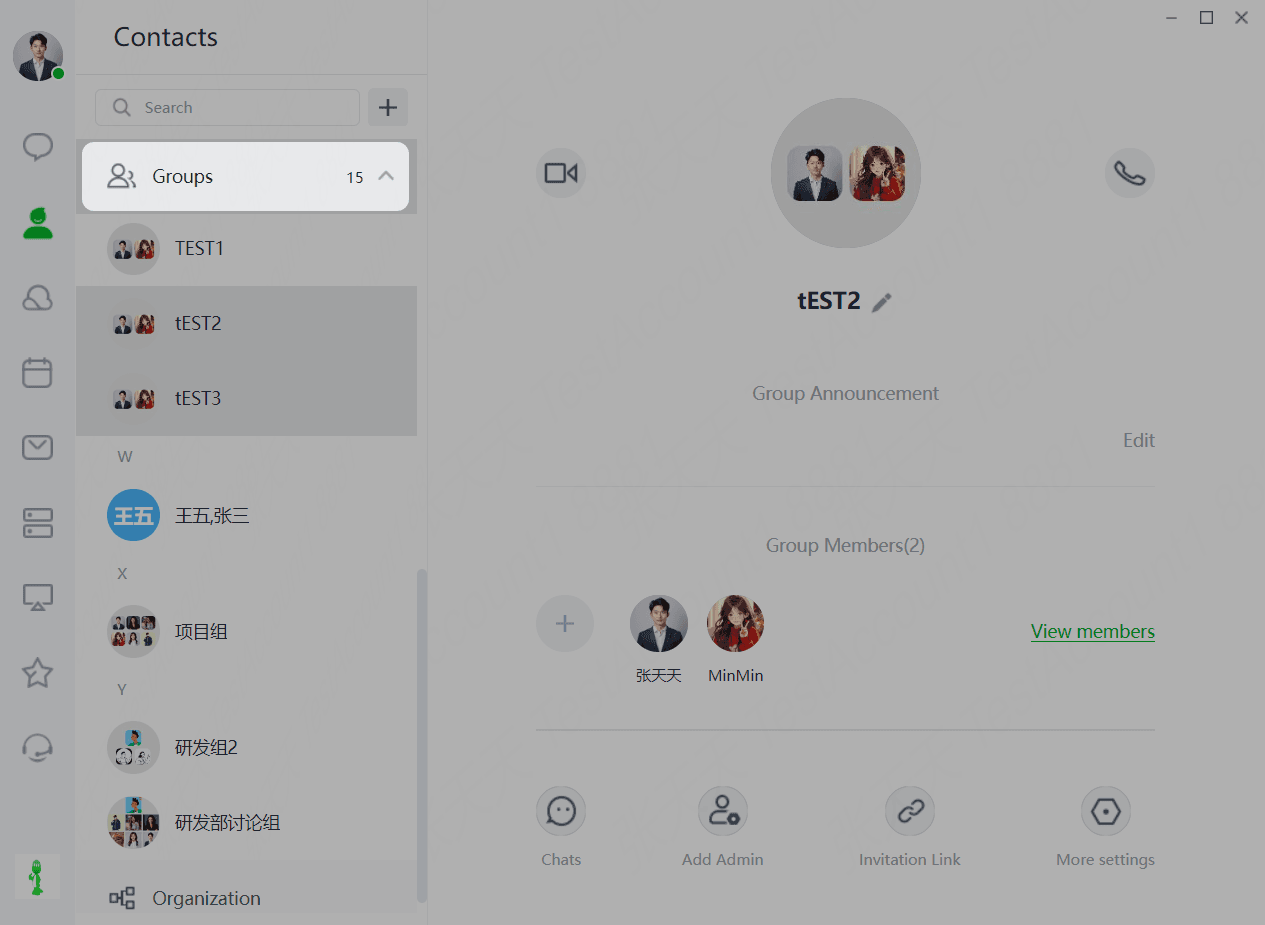
When a group is selected, its information is displayed, including the group avatar, nickname, group announcement, and group members.
Initiate Conversation
Click the corresponding button to initiate a conversation within the group:
(1) Chat: Directly jump to the chat page and select the corresponding group.
(2) Audio/Video Call: Click the audio/video call button, select group members, and initiate an audio/video call with them.
More Functions
(1) Invite via Link: Click to send the group link to the selected chat, allowing users to join the group chat through the link.
(2) More Settings: Click to access group settings, which are the same as those in Chat > Group Chat > Settings.
(3) Add Admin: Click to add other users as admins. Only the group owner has this permission.
Organization
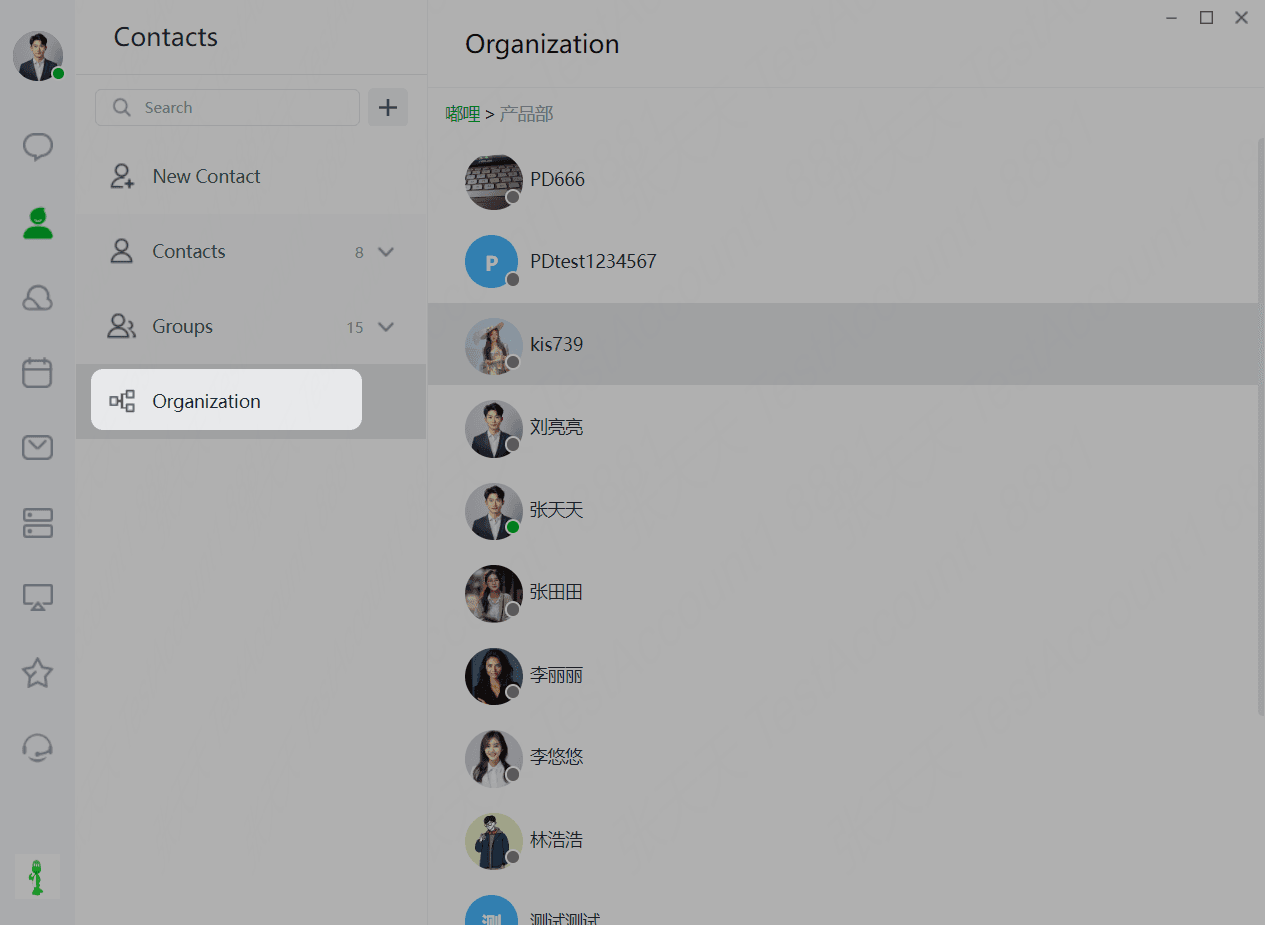
When you have permission to view the organizational structure, you can check the enterprise's organizational structure here.