Windows Service Deployment Guide
1. Overview
1.1 Deployment plan
The Windows private deployment solution for DULI uses the DULI exe installer package to provide a fast one-click deployment experience.
1.2 Deployment methods
| Name | Description |
|---|---|
| On-premises deployment | The customer purchases the server and installs it in the company’s own server room. |
| Cloud deployment | The customer purchases the server from a cloud service provider. |
1.3 Deployment architecture
| Name | Description | Recommended user scale | Number of servers |
|---|---|---|---|
| Single-node deployment | Usually deployed on one physical server | 0-200 users | 1 |
2. Environment preparation
2.1 Server specifications
2.1.1 Trial edition
| Users | CPU | Memory | Disk |
|---|---|---|---|
| Up to 100 | 8 cores | 12 GB | 60 GB |
2.1.2 Production edition
| Users | CPU | Memory | Disk |
|---|---|---|---|
| 0-100 | 8 cores+ | 16 GB+ | 500 GB+ |
| 100-1000 | 24 cores+ | 64 GB+ | 1 TB+ |
2.2 Operating system and software
| Name | Version | Notes |
|---|---|---|
| Operating system | Windows Server 2008 or later | A clean operating system is recommended, otherwise service ports may fail to start normally. |
2.3 Network requirements
| Name | Ports | Notes |
|---|---|---|
| Proxy ports / project ports / service ports | 3306, 9001-9018, 10001-10002, 8085/18085, 12321-12322, 19001-19018 | 1. Allow these ports through the local firewall. 2. If mobile devices or external access are needed, configure TCP port mapping. 3. If using a cloud server, also allow them in the security group. 4. - indicates a port range and / indicates parallel ports.5. 19001-19018 can remain closed to the public network when only intranet access is required. |
3. Installation and deployment
Deployment is performed through the exe installer. On Windows, you can double-click the installer package for one-click deployment. Estimated time: about 15 minutes.
3.1 Server installation
- Download
duliduli-server.zipand extract it.

- After extraction, you will get
duliduli-server.exeand severalbinfiles. Double-clickduliduli-server.exeto open the installer.

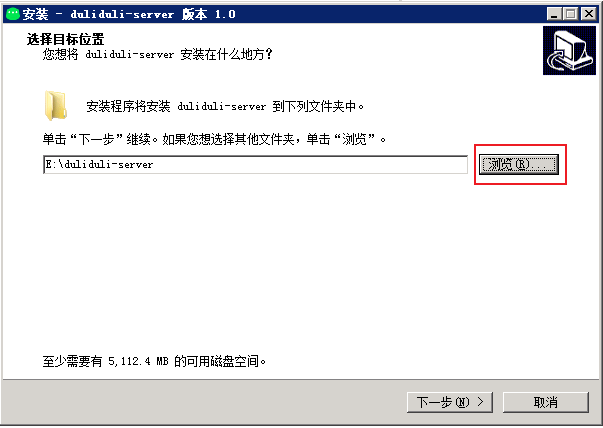
- Click Browse to select the installation path. It is recommended to choose a drive with sufficient remaining space, such as
E:, and then click Next.
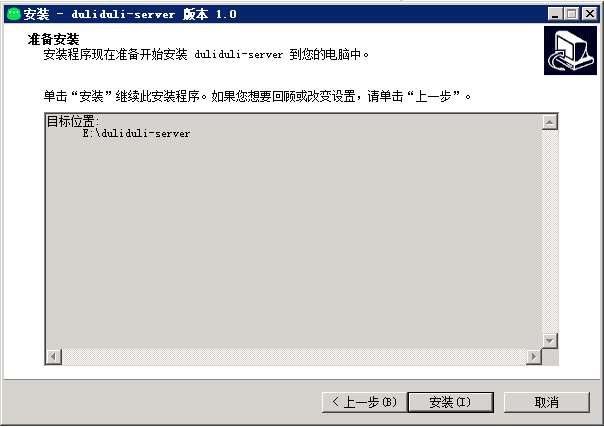
- Click Install.
- Before installation, the installer checks whether memory reaches 12 GB. If not, a warning dialog appears. You can still click OK to continue.
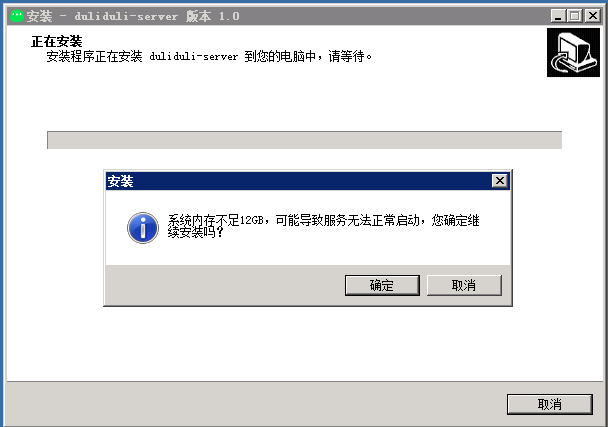
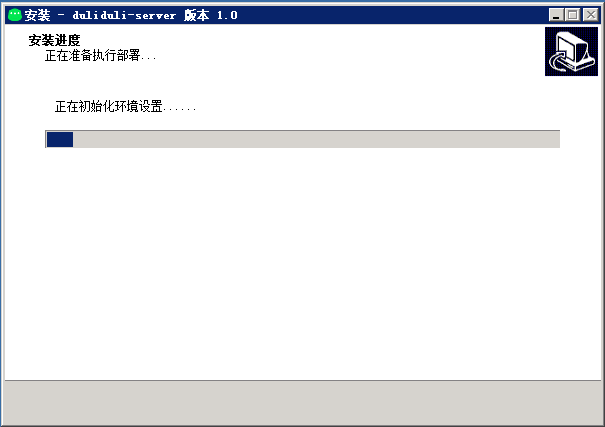
- Click OK to start installation. This step extracts files.
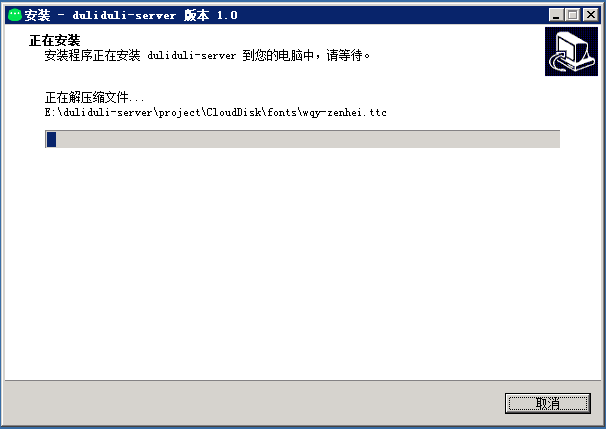
- Wait for deployment to finish automatically.
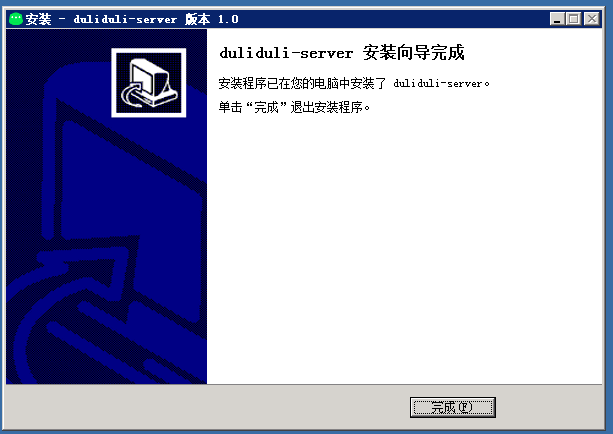
- When installation is complete, the service panel opens automatically. You can manage services and view logs there.
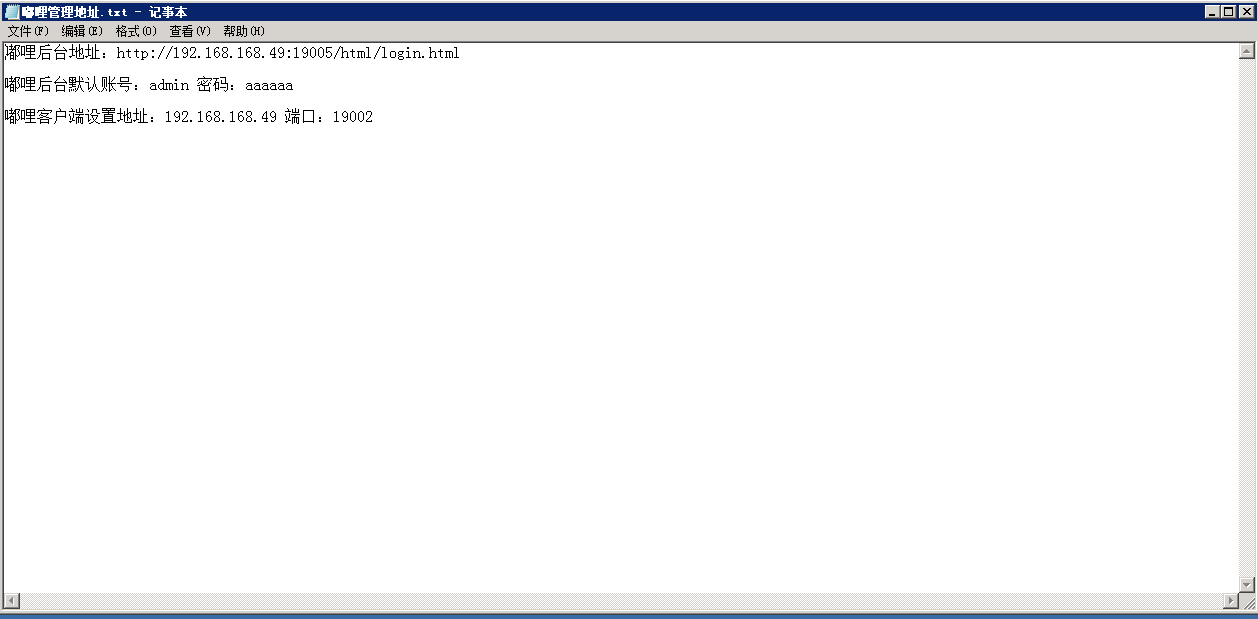
The file 嘟哩管理后台地址.txt contains the admin URL, initial account credentials, and client server address.
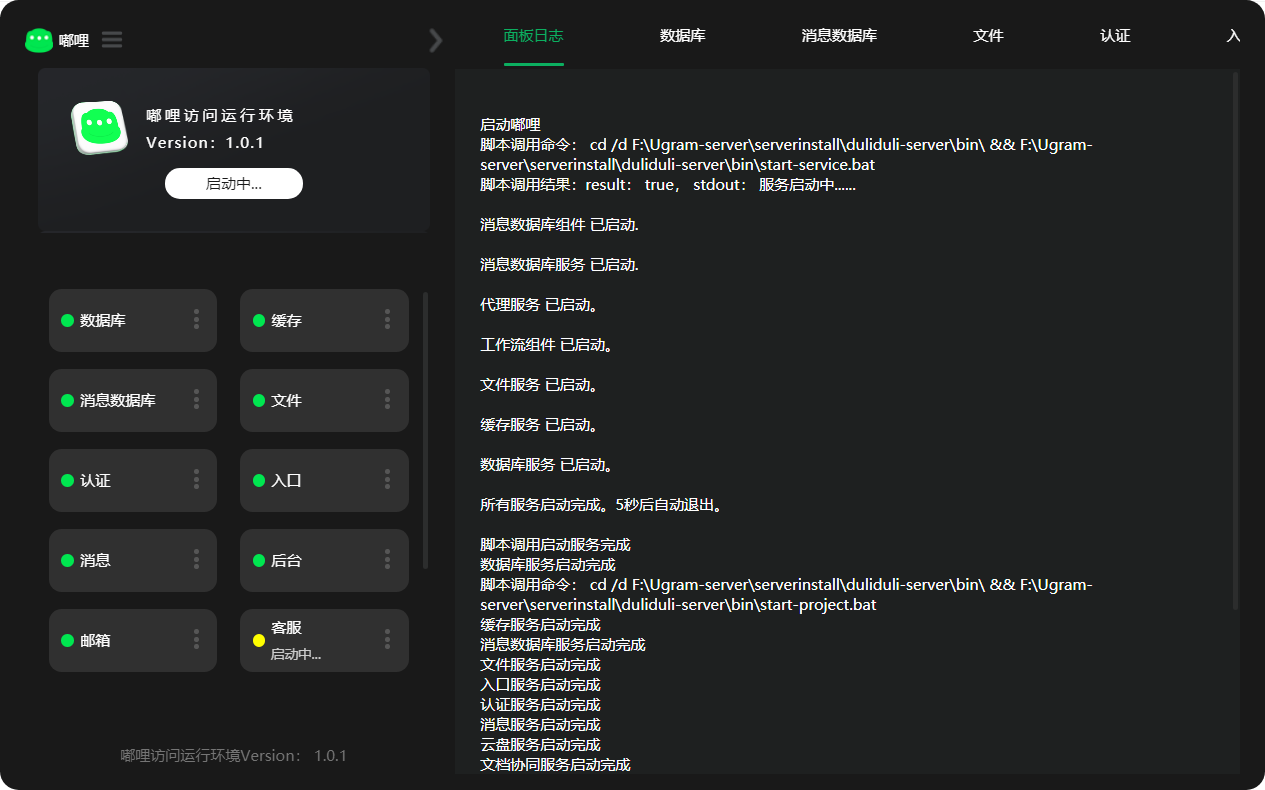
3.2 Service management panel
After installation, the following services are included:
| Service | Description |
|---|---|
| Nginx | Entry service, port 19002 |
| IM | Messaging system |
| DuliWpp | Cloud Drive |
| DuliMail | |
| DuliRedis | Database |
| DuliGoFast | Redis cache database (cluster mode) |
| Onlyoffice | File server |
| Openoffice | Online document preview |
| DuliYjs | Online document collaboration |
| Hbase + Zookeeper + Hadoop | Message database |
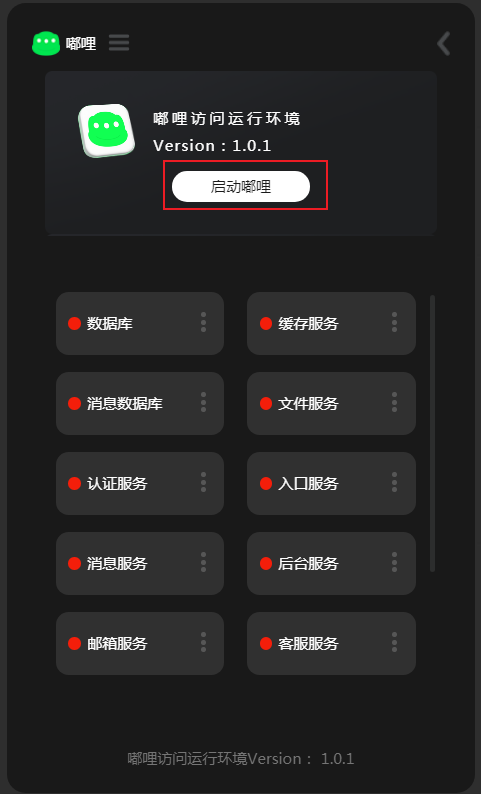
3.2.1 Startup panel
Open the startup panel by double-clicking the desktop shortcut for the DULI runtime environment.

Start DULI services:
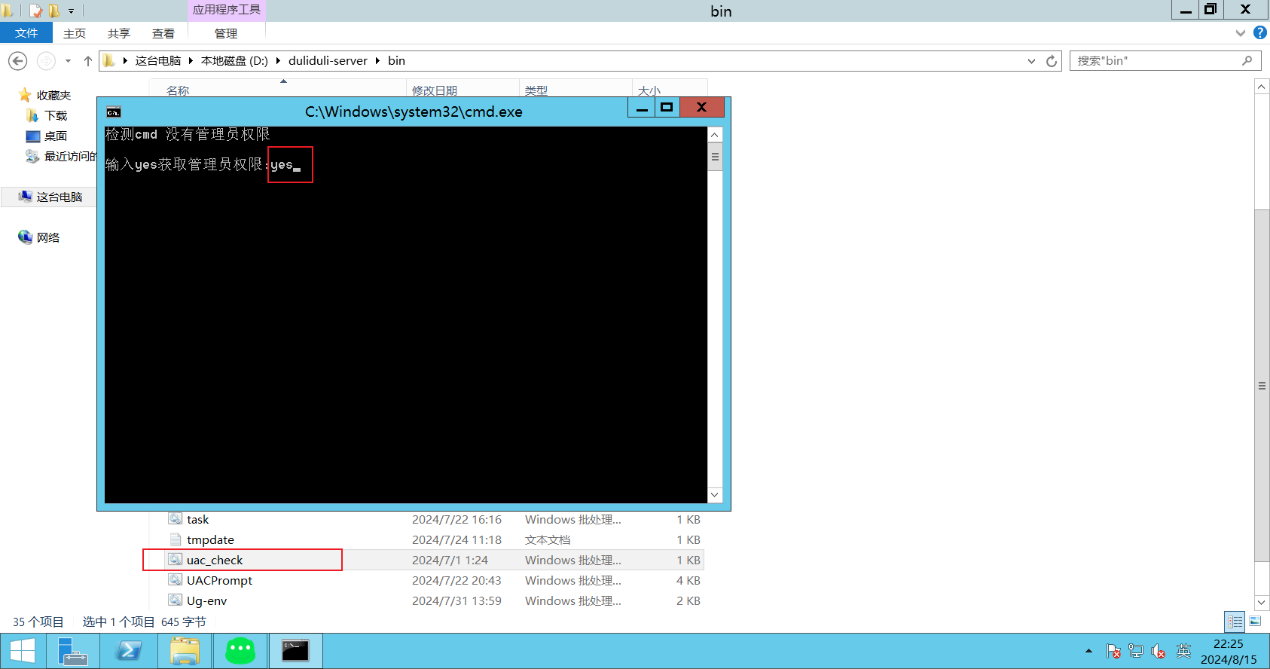
Run with administrator privileges:
If the current user does not have administrator rights, run the uac_check script to elevate privileges. A reboot is required.
View installation logs:
Double-click install.log to review the installation log.

3.2.2 Maintenance and backup
Port information
| Type | Service / Project | Port |
|---|---|---|
| IM | DuliGoFast | 19001 |
| IM | DuliRoute | 19002 |
| IM | DuliFront | 19003 |
| IM | DuliBackend | 19017 |
| IM | DuliAuth | 19006 |
| IM | ws socket | 11511 |
| IM | netty socket | 11611 |
| IM | android socket | 11911 |
| IM | natcross socket | 12321 |
| IM | stream socket | 11711 |
| IM | File transfer | 12321 / 12322 |
| Drive | DuliWpp | 19014 |
| Drive | DuliWppSocket | 10001 |
| Drive | DuliYjs | 2234 |
| DuliMail | 9017 |
duliduli-server directory structure
| Directory | Description |
|---|---|
E:\duliduli-server | Server root path |
E:\duliduli-server\data | Project and service data |
E:\duliduli-server\mysql\data | Database data directory |
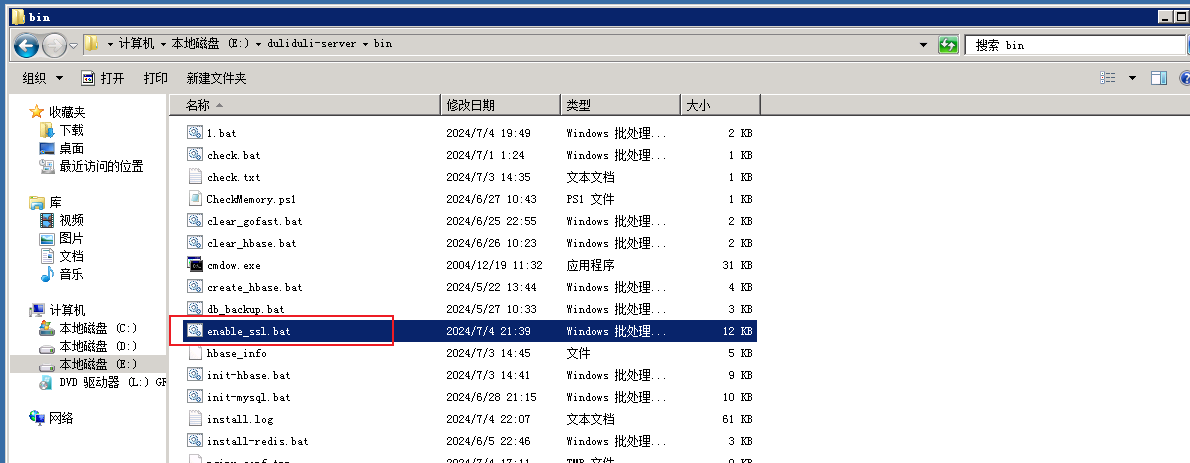
E:\duliduli-server\bin | Service start/stop scripts |
E:\duliduli-server\gofastdfs | File storage directory |
E:\duliduli-server\{hbase,hadoop} | ZooKeeper, HDFS, Hadoop installation and data directories |
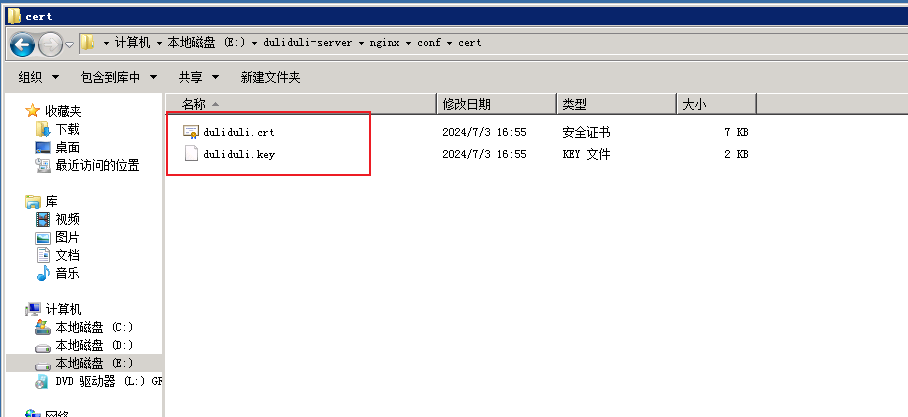
E:\duliduli-server\nginx\conf\cert | HTTPS certificate directory |
HBase maintenance
E:
cd E:\duliduli-server\hbase\bin
hbase shell
MySQL maintenance
E:
cd E:\duliduli-server\mysql\bin
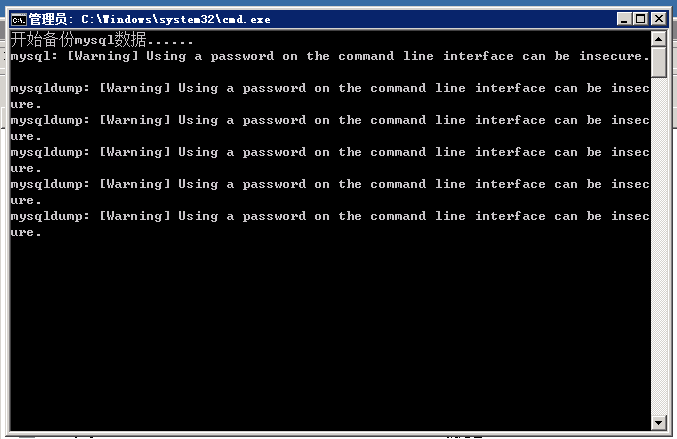
mysql -h127.0.0.1 -uroot -p"password"MySQL data backup
Double-click db_backup.bat to back up the MySQL database automatically.
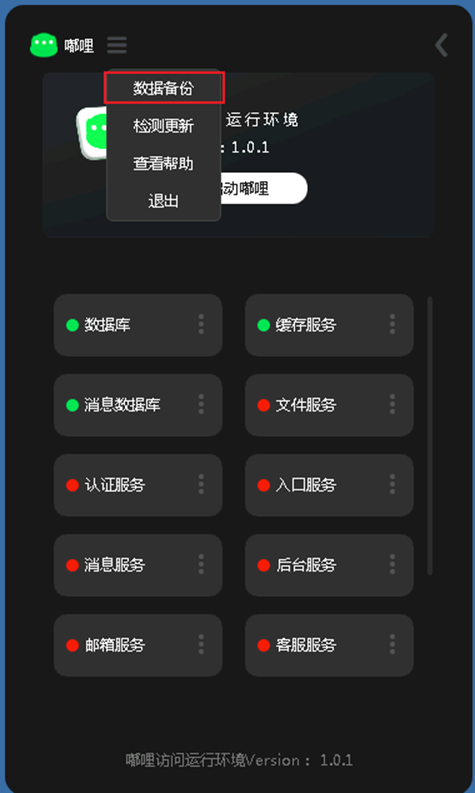
You can also perform backup from the panel:
4. Version upgrade
- Download the patch package
duliduli-update_V1.0.2.exe. The patch version must be higher than the local current version. - Double-click
duliduli-update_V1.0.2.exeto open the installer.
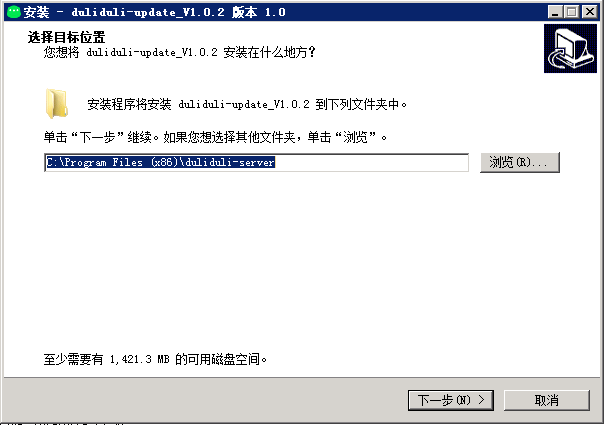
- Click Browse and select the DULI server installation path.
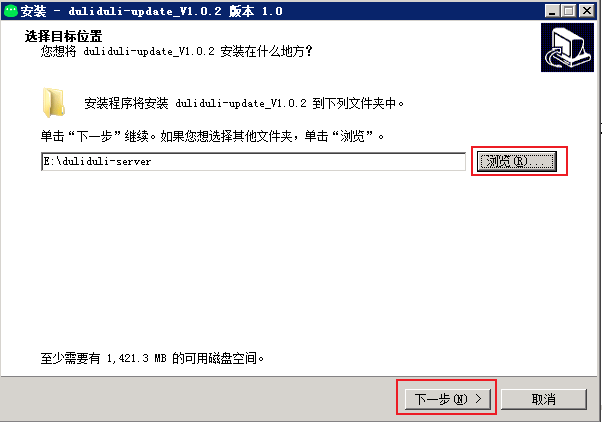
- Click Install.

- When prompted to stop DULI services, click OK to continue.
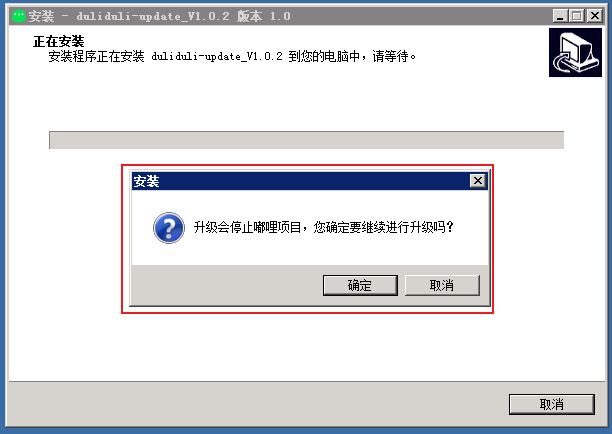
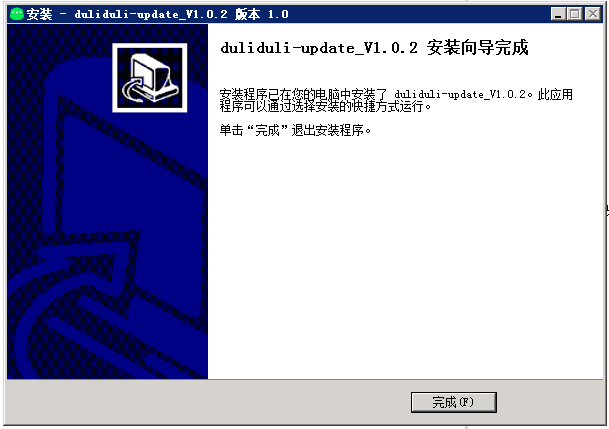
- Wait for the upgrade to complete automatically.
5. Domain configuration
Switch DULI requests from HTTP to HTTPS. If the server is only used internally and no domain is purchased, this step can be skipped.
5.1 Preparation
| Domain | Certificate file | Private key file |
|---|---|---|
| Primary / secondary domain | CRT or PEM | KEY |
5.2 Configure HTTPS
- Apply for a domain certificate.
- Rename the certificate file (
crt/pem) toduliduli.cert. - Rename the private key file to
duliduli.key. - Put both files into
nginx/conf/cert.
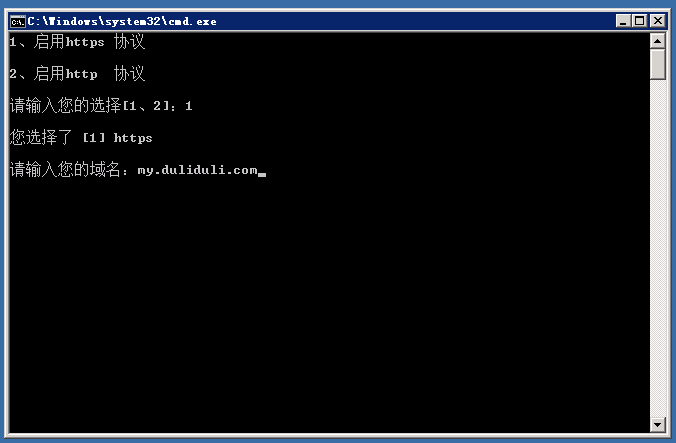
- Double-click
enable_ssl.batand enter1when prompted. - Enter the domain name, for example
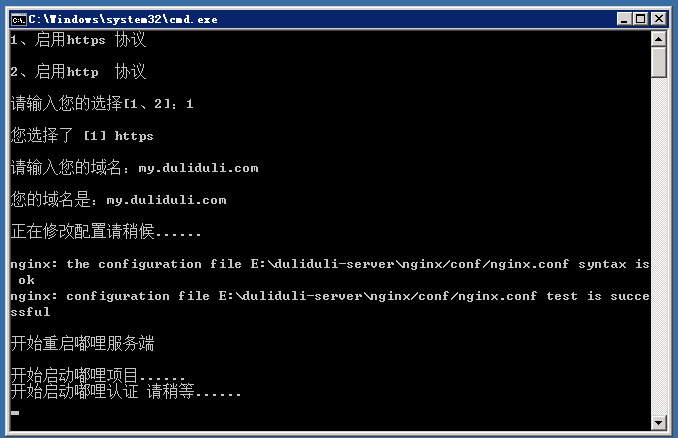
my.duliduli.com. Replace it with your actual available domain. - The script switches the service to HTTPS automatically.
- Wait for the script to restart the server automatically.
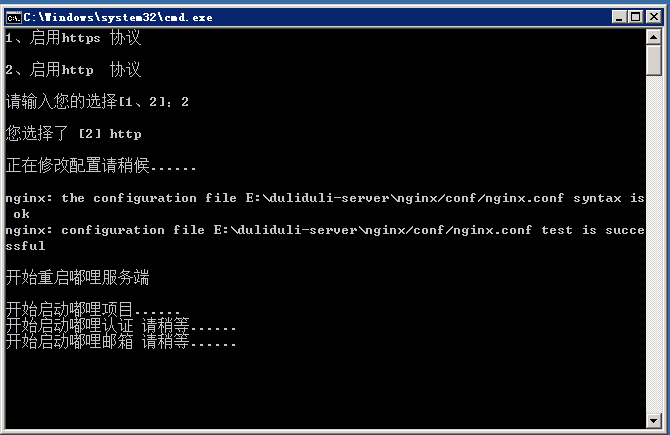
5.3 Switch back to HTTP
- Double-click
enable_ssl.batand enter2when prompted. - Wait for the script to update the configuration and restart the service automatically.
6. Prevent system sleep
On Windows 10, long periods without activity may put the system into sleep mode and disconnect the network, which can affect service availability. Configure the following settings.
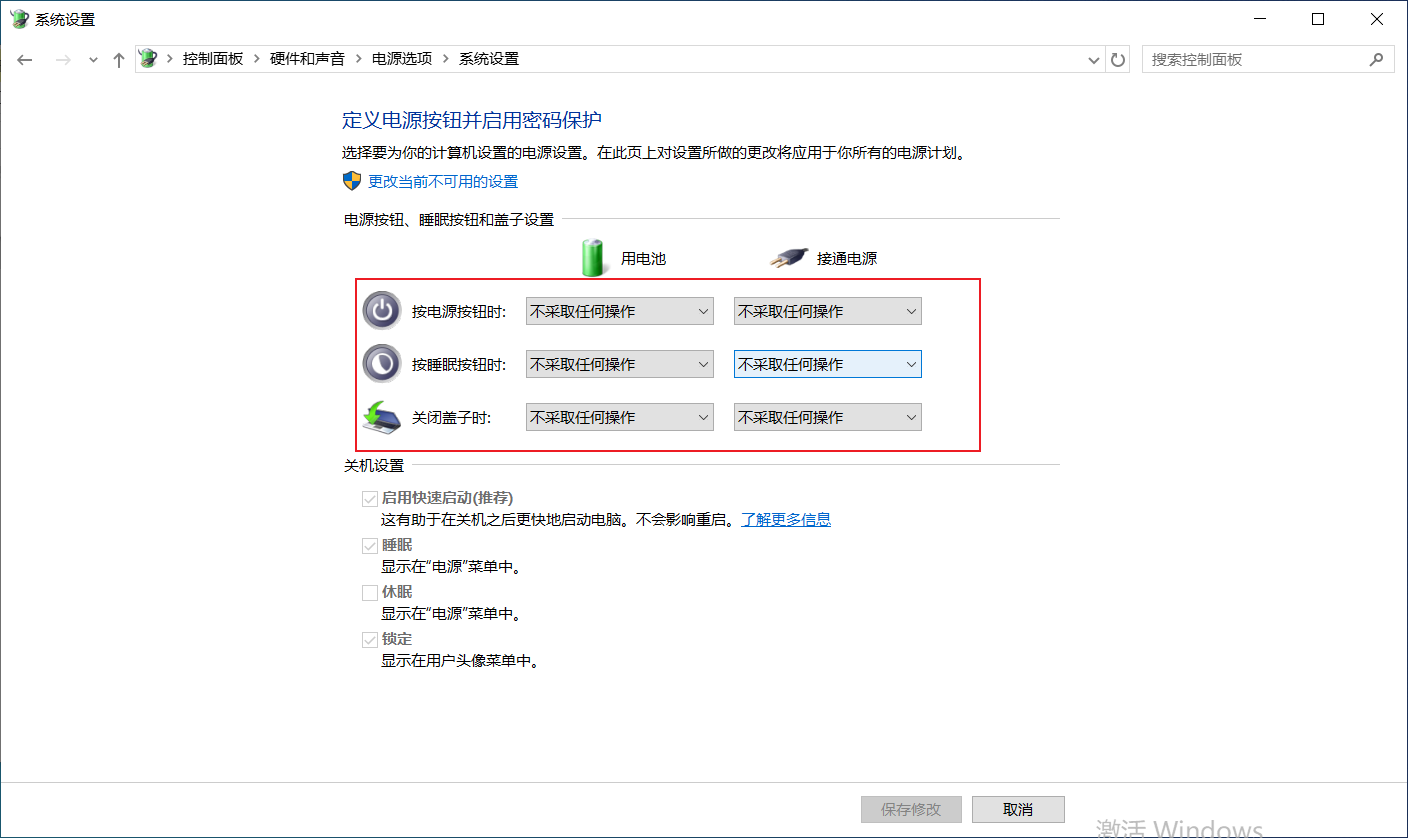
6.1 Power button, sleep button, and lid settings
Path: Control Panel -> Hardware and Sound -> Power Options -> System Settings. Set everything to “Do nothing”.
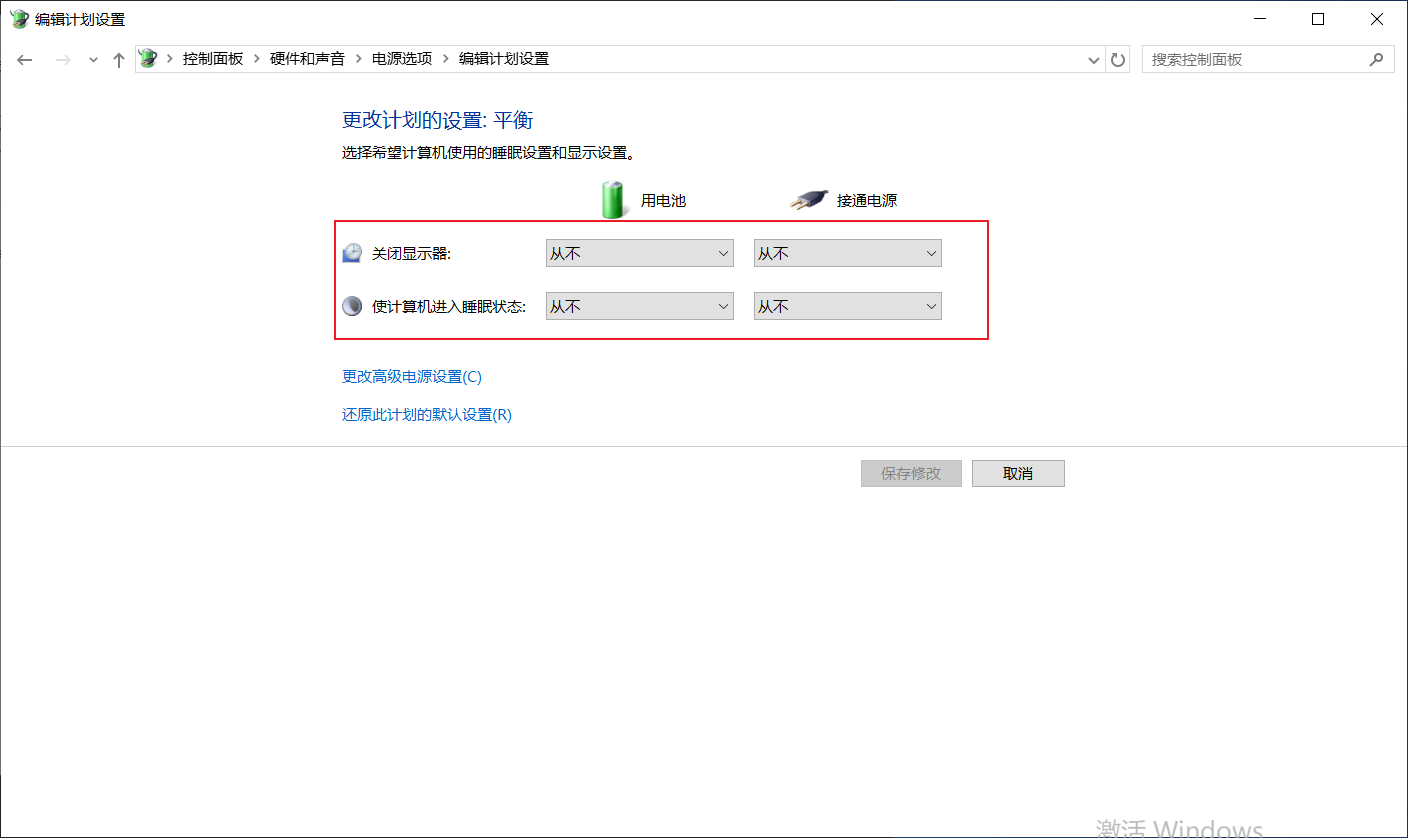
6.2 Change power plan settings
Path: Control Panel -> Hardware and Sound -> Power Options -> System Settings. Set all related items to “Never”.
7. Start using it
7.1 Access the admin console
Use the following address to open the admin console. Replace ip with the actual server address:
http://ip:19005/html/login.html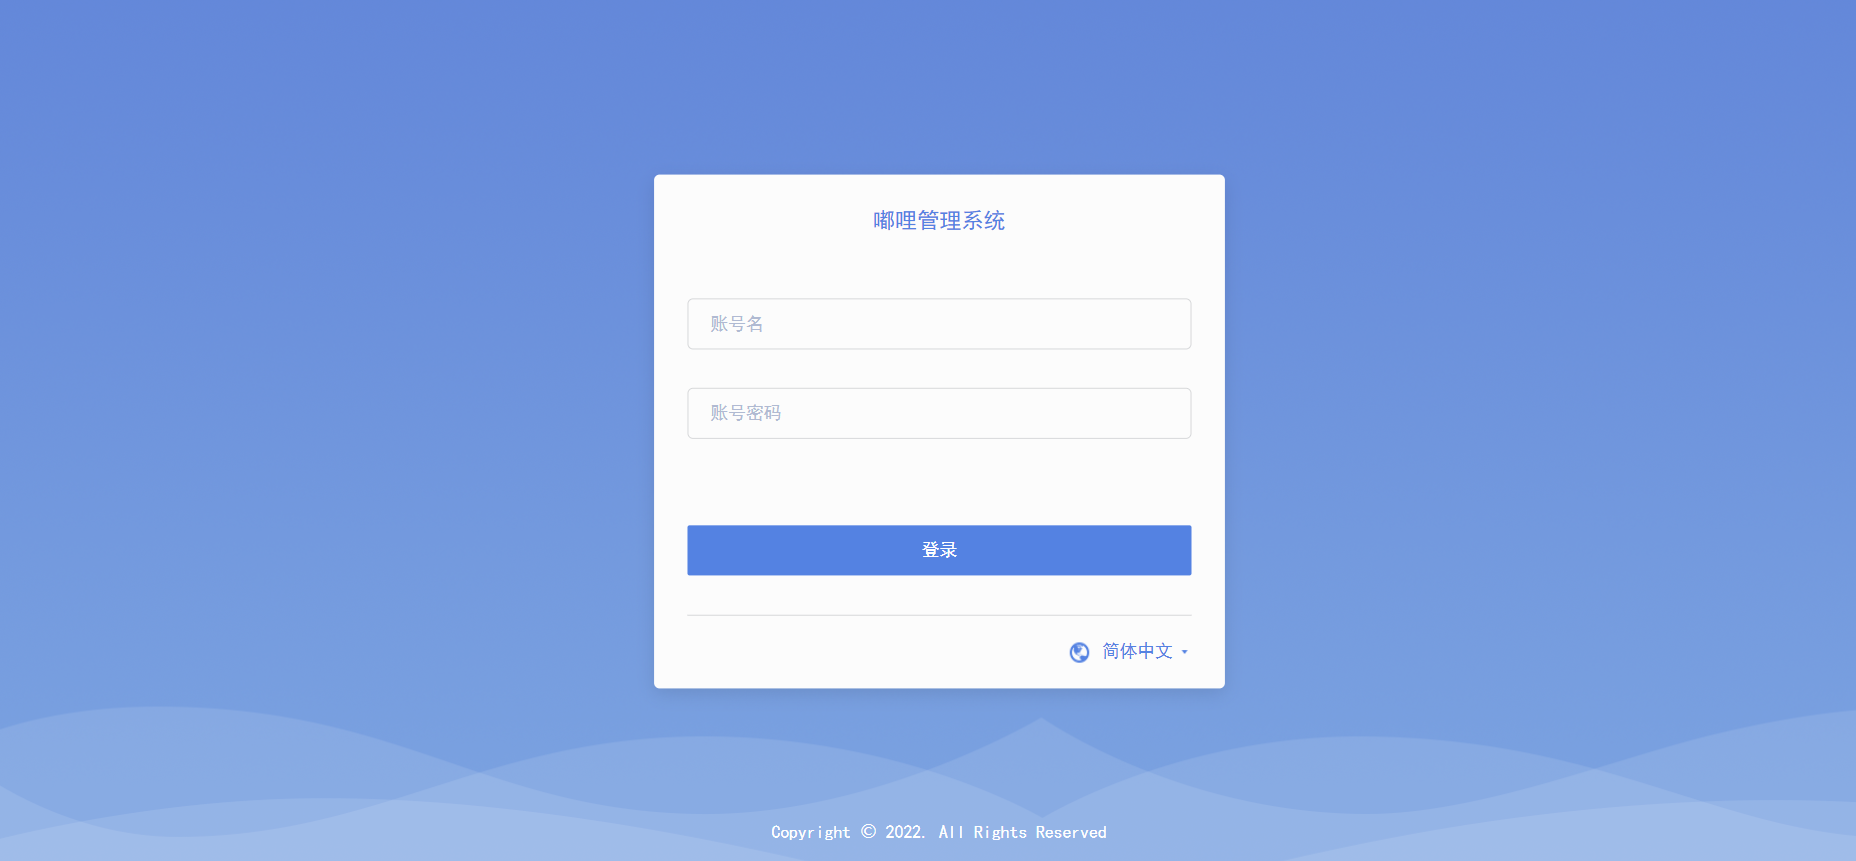
7.2 Complete license activation
After registering on the DULI official website and completing enterprise verification, you can obtain a free License.
After purchasing the Enterprise or VIP edition from your account center, use the machine code to obtain the License file and import it.
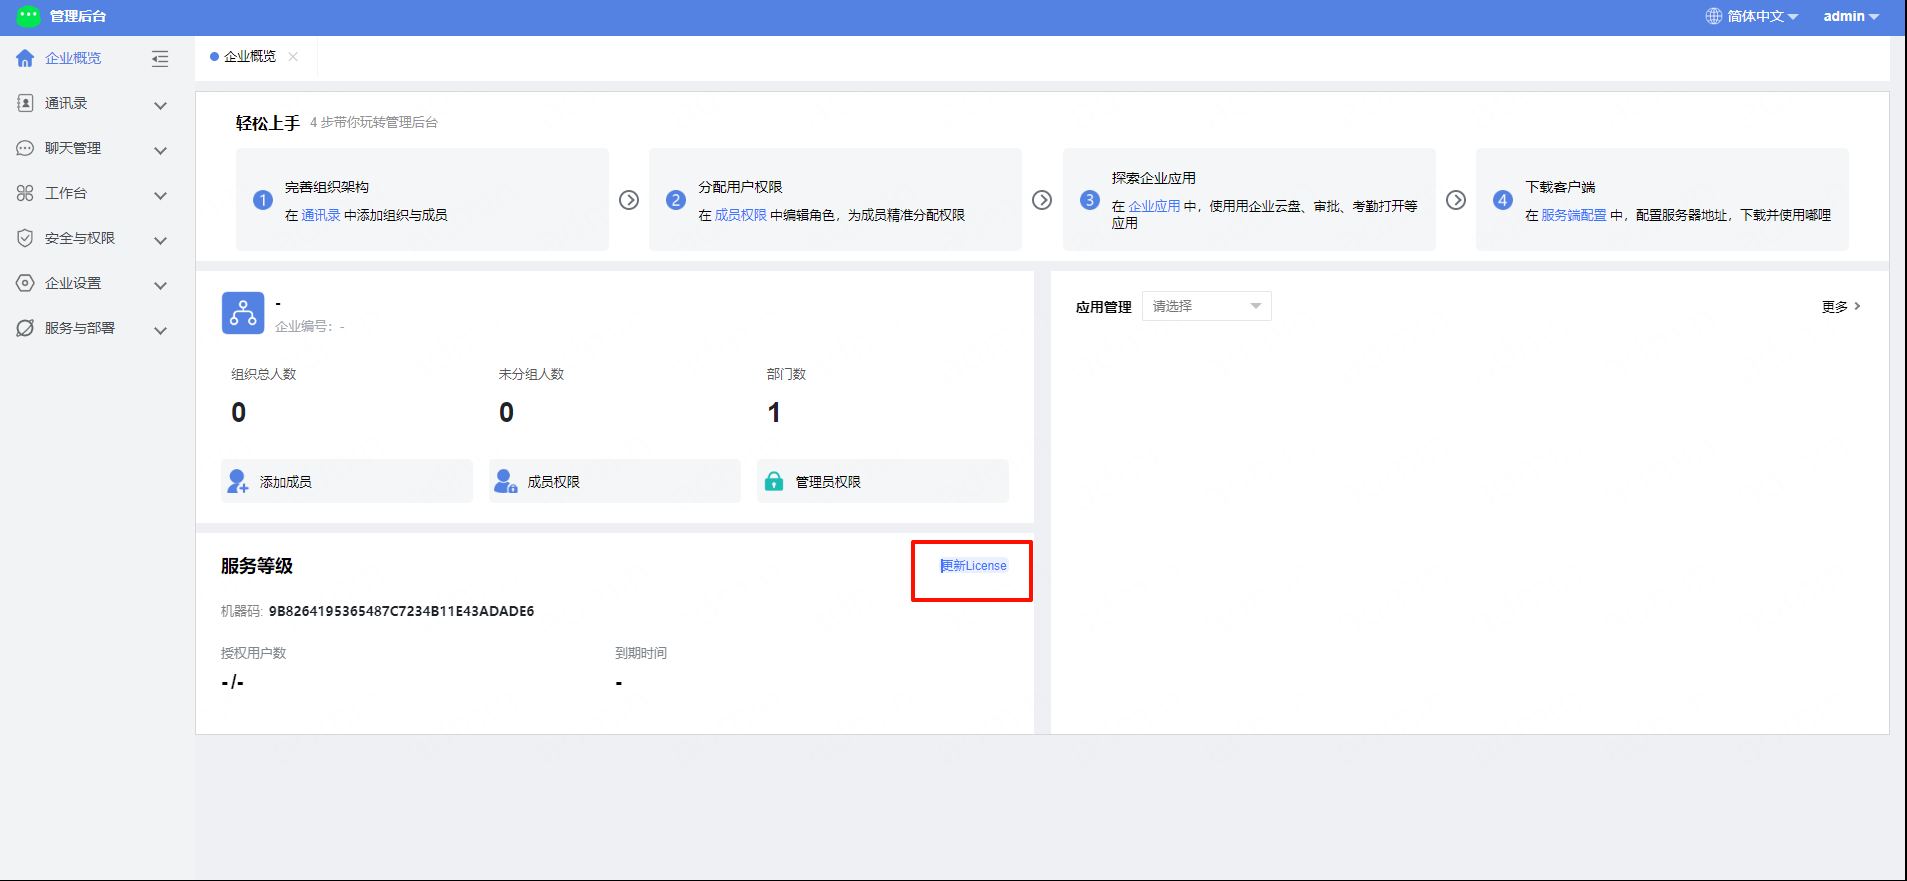
Importing a License requires online verification. Please ensure that the
duliduli.comdomain is accessible.
8. Client download
DULI supports Mac, Windows, iOS, and Android clients.
You can download installers from the official website. For Android and iOS, it is recommended to search for “嘟哩” in the app store.
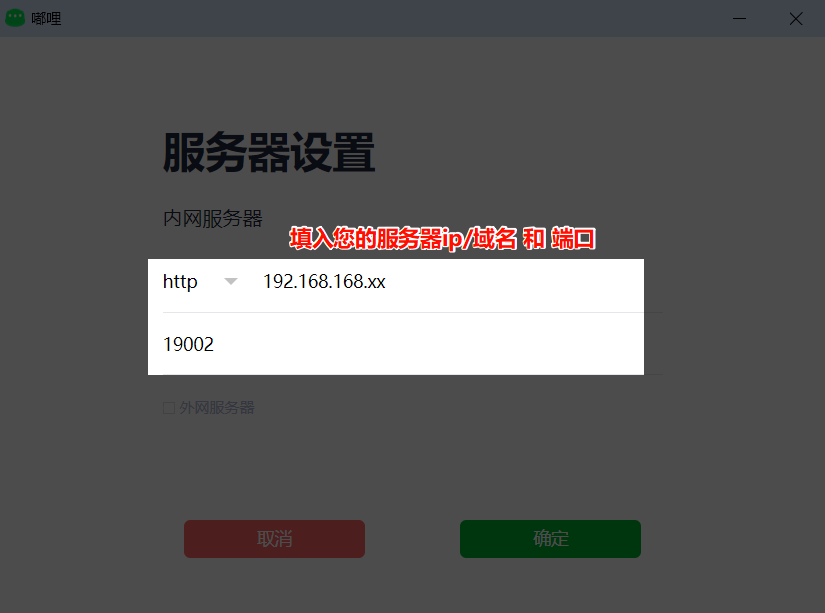
- Copy the IP and port from
嘟哩管理地址.txt. If a public domain is configured, enter the domain and port instead, then configure them in the client.
- Accept the agreement and click Log In. Accounts can be created in the admin console. If SMS services are integrated, users can also register from the client.
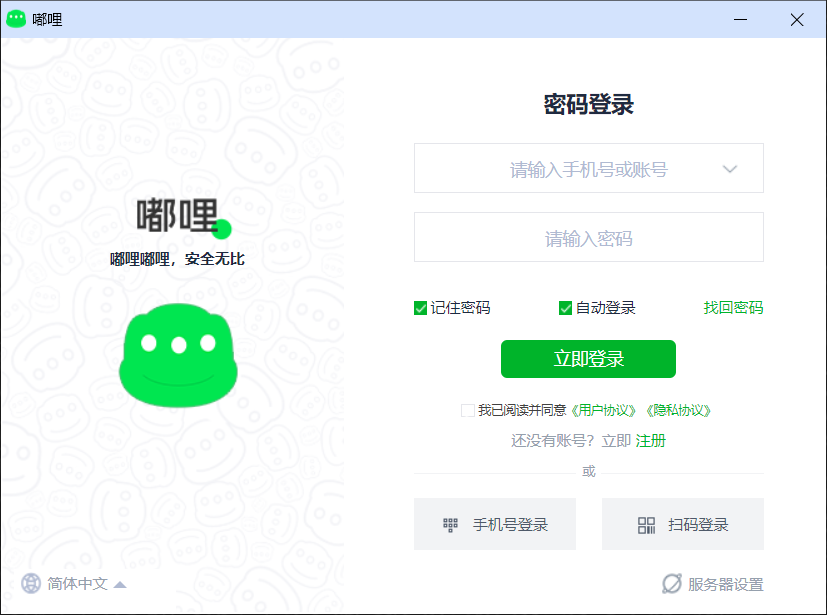
You can start using DULI after logging in.